
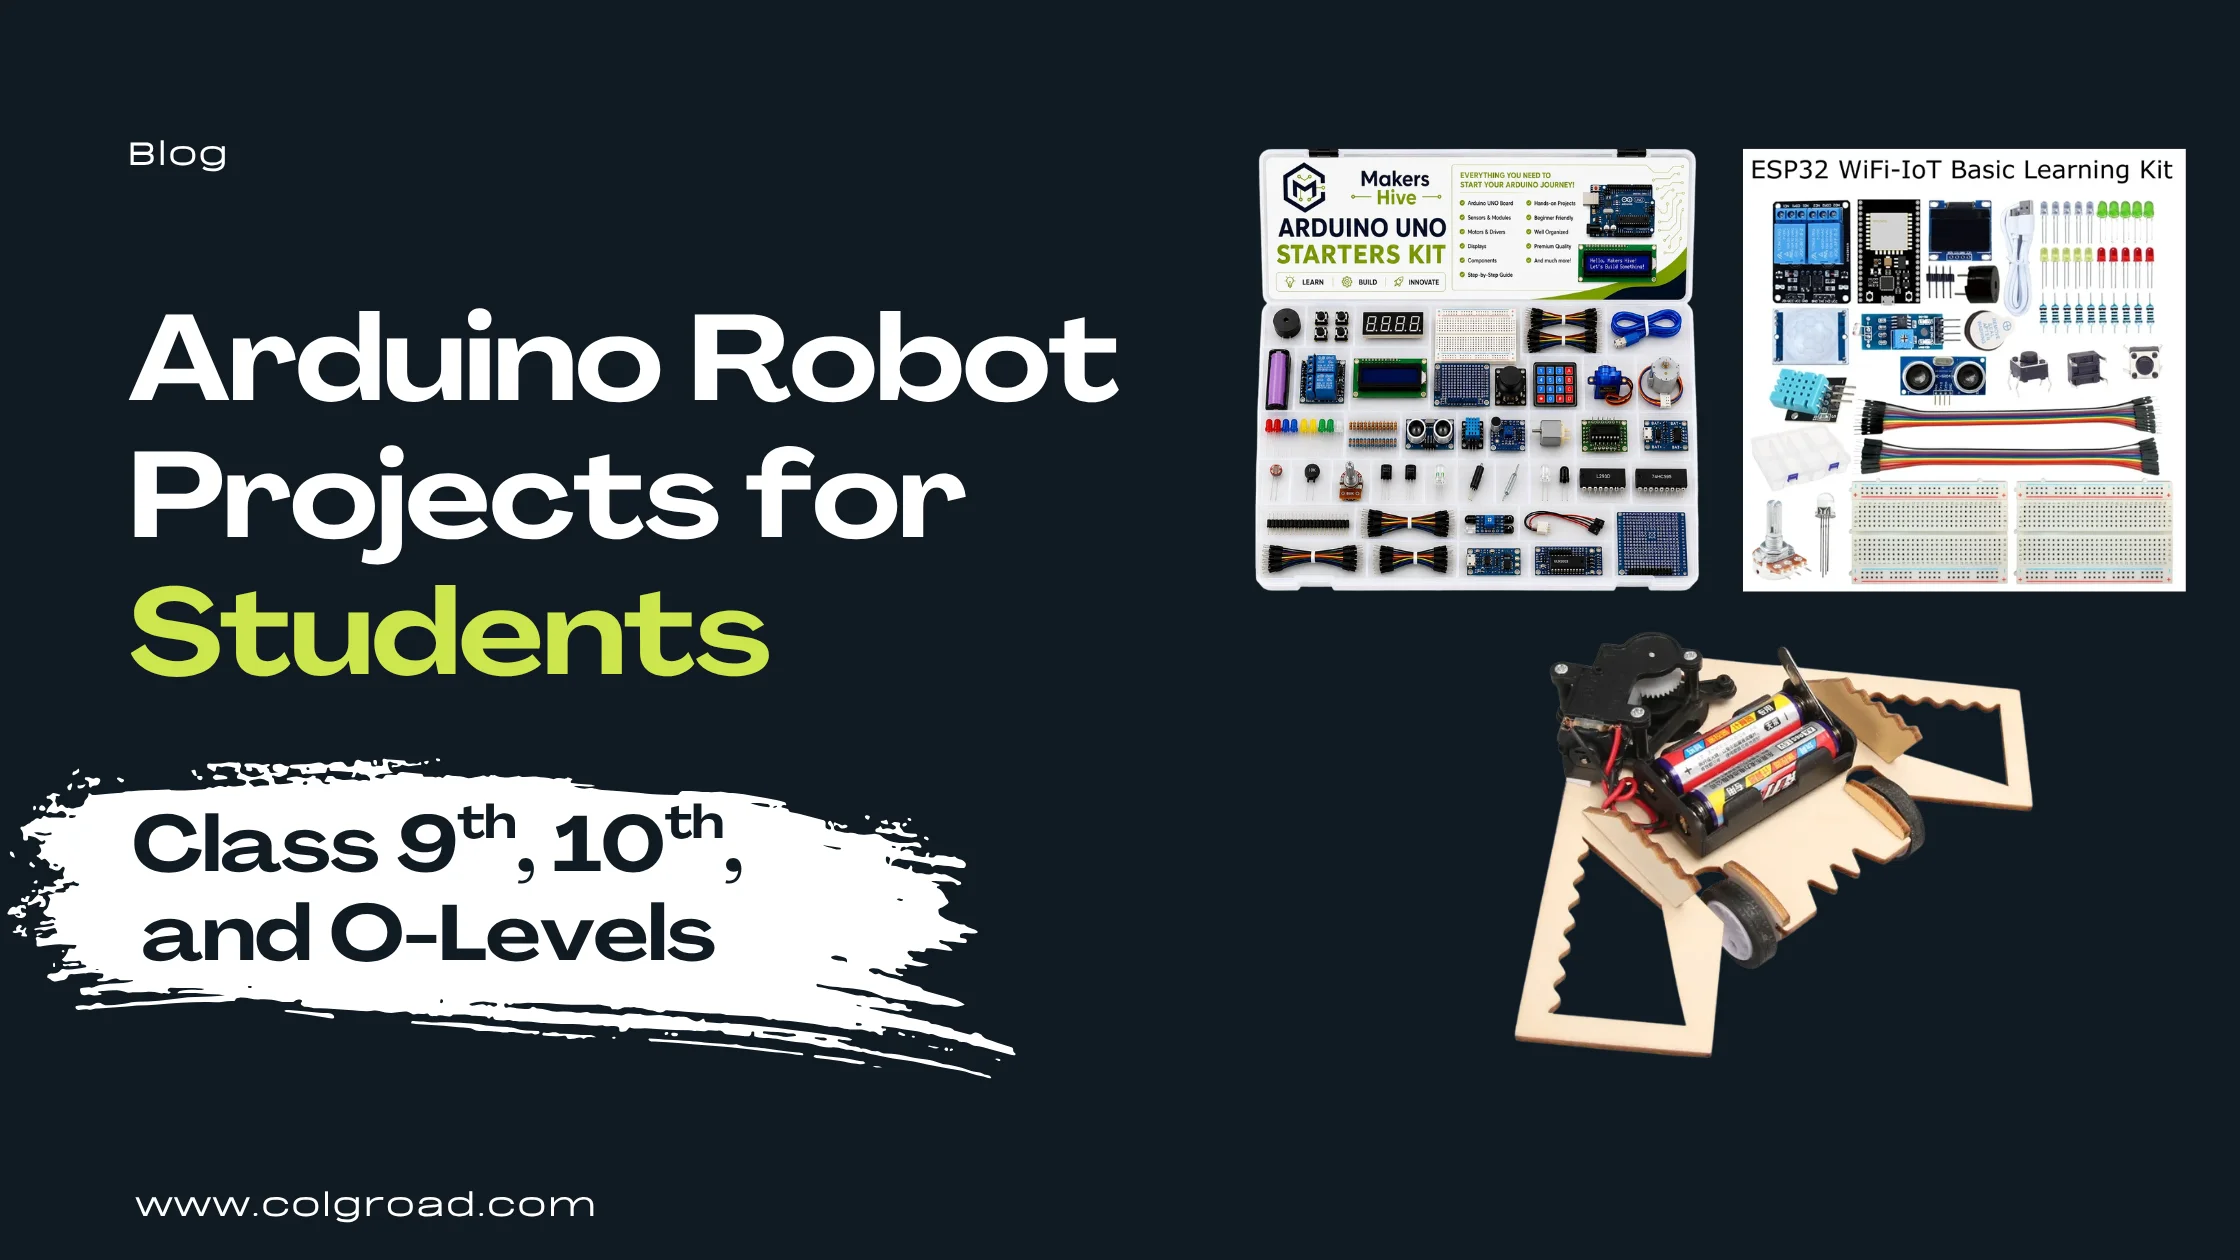
Somewhere around class 9, the science project changes. A working model that does the same thing every time stops being enough. Teachers start asking what the project decides, not just what it does, and the students who bring a robot that reacts to its surroundings are marked differently from the students who bring a model that moves.
That shift is what Arduino is for. It is the point where a student stops assembling something and starts telling it what to do. The projects below are the ones that work reliably at this level, sorted by how much coding each one demands, so you can pick according to where the student actually is rather than where you hope they are.
O Level Computer Science covers sensors, microprocessors and control systems as a topic, and O Level Physics covers electricity, magnetism and electronic components. An Arduino robot sits exactly on top of both. A student who has wired an ultrasonic sensor and written the condition that stops the motors is not revising the control systems chapter, they have already lived it. That is a real advantage in the exam, separate from whatever the project scores.
What Arduino actually is, in one minute
If the student is coming from a beginner science kit, this is the only new idea they need before starting.
An Arduino is a small circuit board with a chip on it that runs one program, over and over, for as long as it has power. You connect inputs to it, such as a sensor that measures distance or detects a black line. You connect outputs to it, such as motors, a buzzer or an LED. Then you write a few lines of instruction telling it what to do with the input, upload that over a USB cable, and the board runs it on its own with no computer attached.
That is the entire concept. Input, decision, output. Everything on this page is a variation of those three steps, and our guide to what Arduino is covers the board itself in more detail if the student wants the full picture before ordering anything.
Sensor driven robots: the strongest exhibition projects
These three are the projects most likely to win at a school or college exhibition, because the robot visibly makes a decision in front of the judge. A student can explain exactly which sensor caused which behaviour, and can prove it by changing the conditions on the table.
1. Line following robot
The robot follows a black line drawn on white paper or chart, using infrared sensors that read the difference in reflected light. When one sensor drifts onto the line, that side slows down and the robot corrects itself. That constant small correction is the whole principle, and it is a genuinely satisfying thing to watch working.
It is the best first robot for one practical reason: you can draw a new track in thirty seconds during the exhibition and prove the robot is responding rather than following a memorised route. Judges test exactly this. Our detailed walkthrough of the line follower robot using Arduino Uno covers the wiring and the sensor calibration step, which is the part most first builds get wrong.
2. Obstacle avoiding robot
An ultrasonic sensor sends out a pulse of sound, waits for the echo to return, and calculates distance from the delay. The robot drives forward until something comes within a set distance, then stops, looks left and right, and turns towards whichever side has more space.
This project explains itself well because the sensor works the way bats and sonar do, which every student already knows about. It also introduces a genuinely important idea: the threshold. The student chooses the distance at which the robot reacts, and changing that one number changes the robot’s entire behaviour. That is a concrete demonstration of what a program actually controls.
3. Object radar detection system
A servo motor sweeps an ultrasonic sensor back and forth through a wide arc while the distance readings are plotted live on a screen as a radar display. Anything placed in front of it appears as a blip at the correct angle and distance.
Of all the projects here, this is the one that draws a crowd, because the output is a moving screen rather than a moving robot. It is also the strongest choice for a student who wants to talk about applications, since the same principle runs parking sensors, aircraft radar and autonomous vehicle detection. Worth noting that it needs a laptop or display at the stall for the visualisation, so check what your exhibition allows before committing.
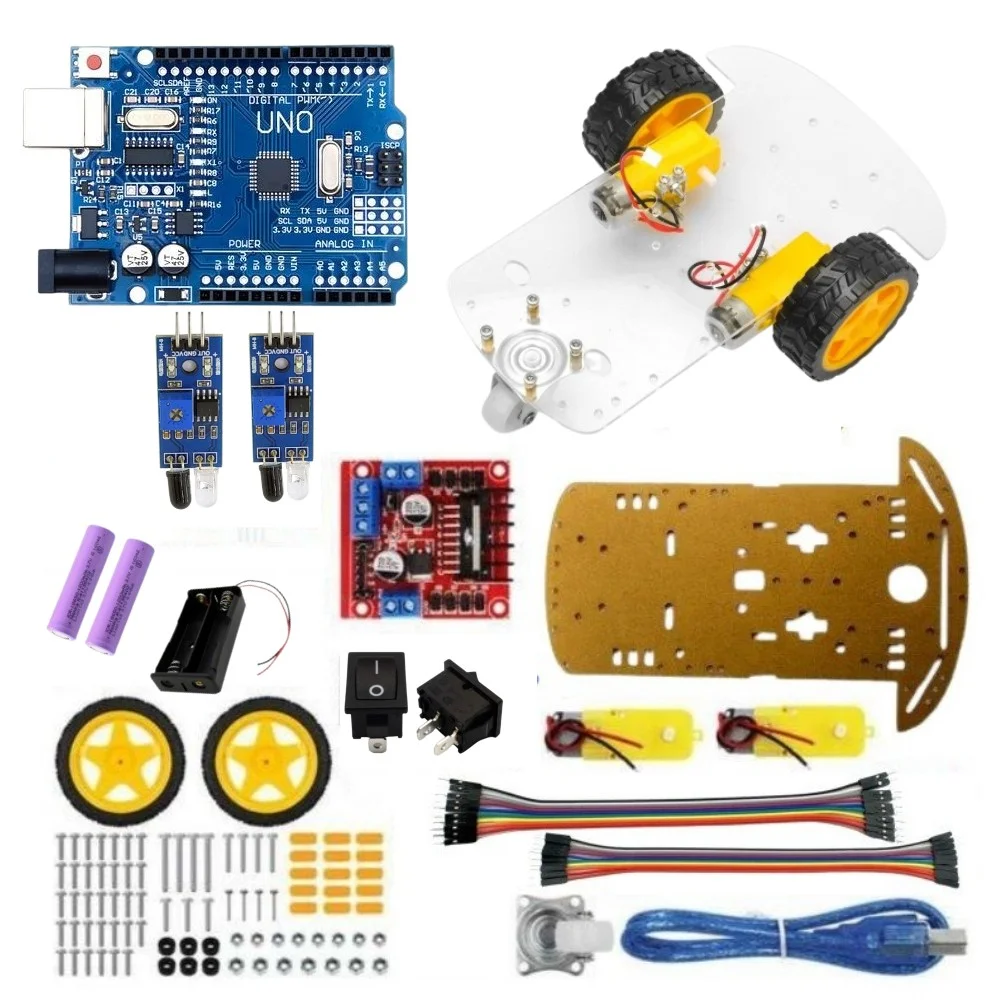
2WD Arduino Line Following Robot (LFR)
Infrared sensors read a black line and the robot corrects its own path continuously.
- Works without writing code
- Prove it live with a new track
- Best first robot at this level
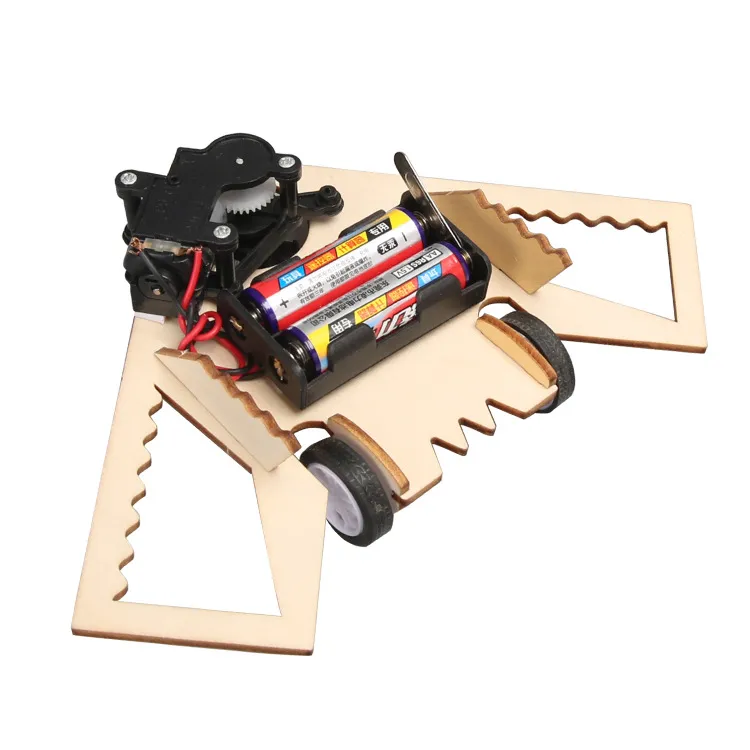
T-M410 Obstacle Avoidance Robot DIY Kit
Ultrasonic distance sensing, with the robot choosing a new direction when something blocks it.
- Teaches thresholds and conditions
- Easy to demonstrate repeatedly
- Same principle as parking sensors
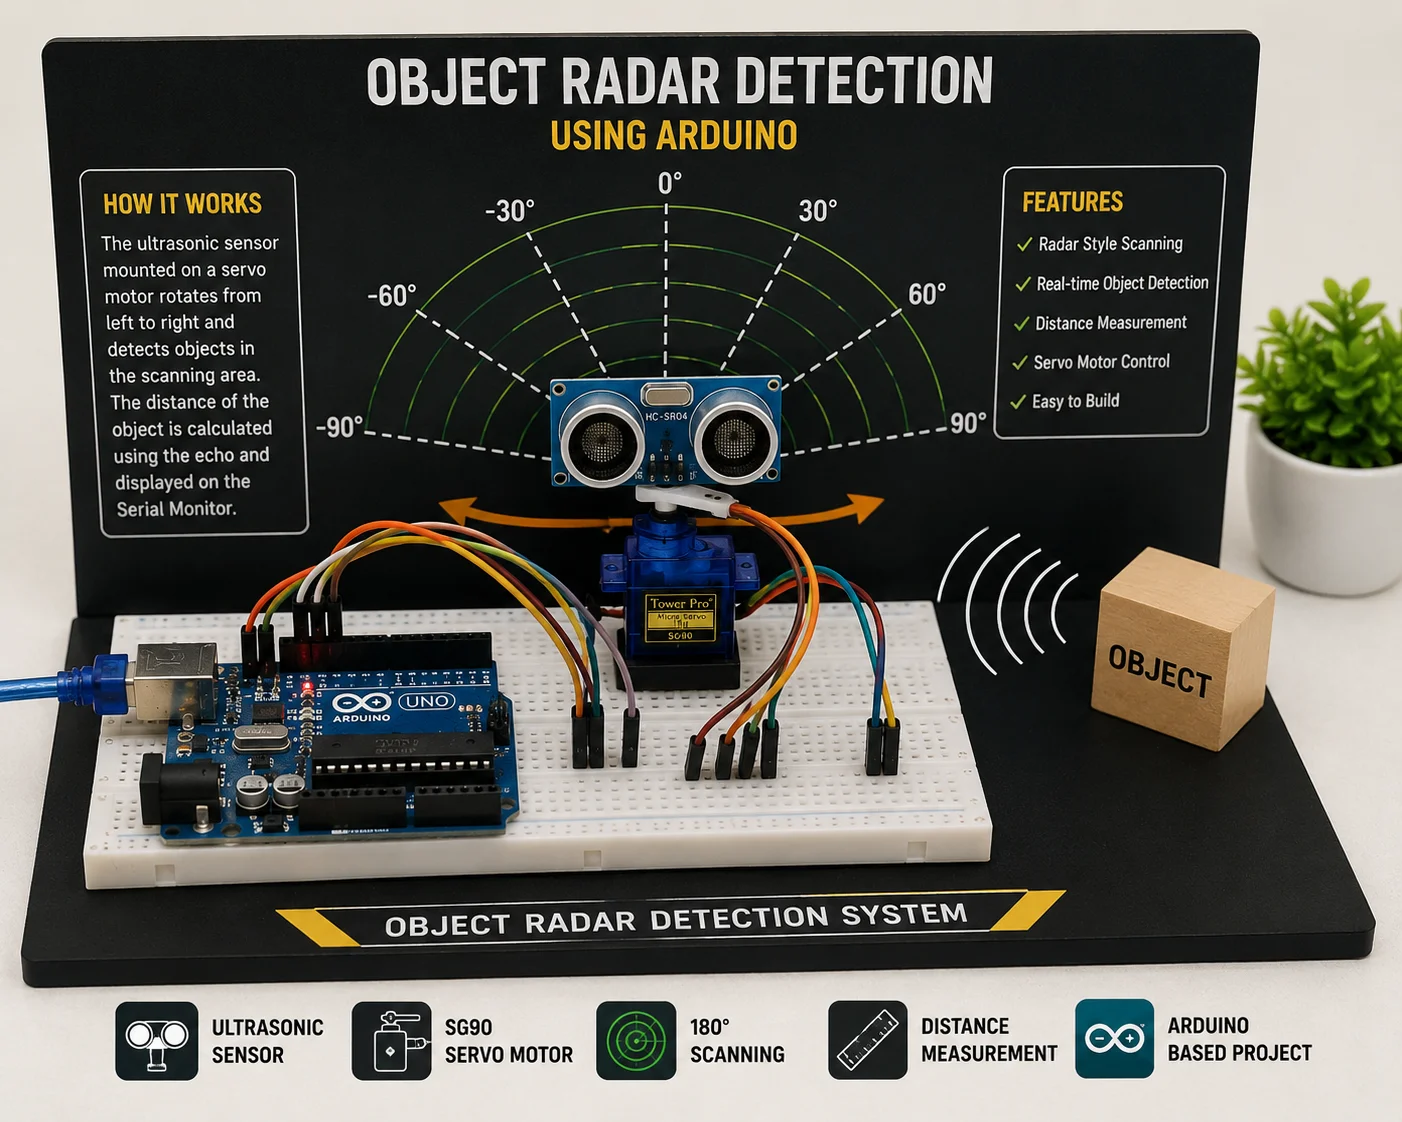
Smart Object Radar Detection System
A servo sweeps an ultrasonic sensor and plots what it finds as a live radar display.
- Visual output on a screen
- Strong real world applications
- Needs a laptop or display at the stall
Controlled and mechanical platforms
These two shift the emphasis. One is about communication between two devices, the other is about mechanical capability. Both are easier to get running than the sensor robots, which makes them good choices when time is short.
4. Bluetooth controlled robot car
A Bluetooth module pairs the robot with an Android phone, and an app sends single characters to the board. The Arduino reads each character and drives the motors accordingly. It looks like a remote control car, but the underlying idea is more useful than that: it is serial communication, which is how most devices talk to each other.
The one thing that lifts this above a toy is what the student says about it. A student who explains that the phone is sending a character over a serial link, and that the program contains a set of cases matching each character to a motor instruction, has understood something real. A student who says it is controlled by the phone has not.
5. Tracked tank car platform
Tracks instead of wheels, which is the point of the project. A tracked platform spreads weight over a larger contact area and turns by driving each track at a different speed, so it handles uneven ground and gravel where a wheeled robot slips or beaches itself.
As a standalone build it demonstrates friction, traction and differential steering, which are all class 9 and 10 physics topics. As a platform it is more interesting still, since a student can add a controller board and sensors to it later and turn one purchase into two years of projects.
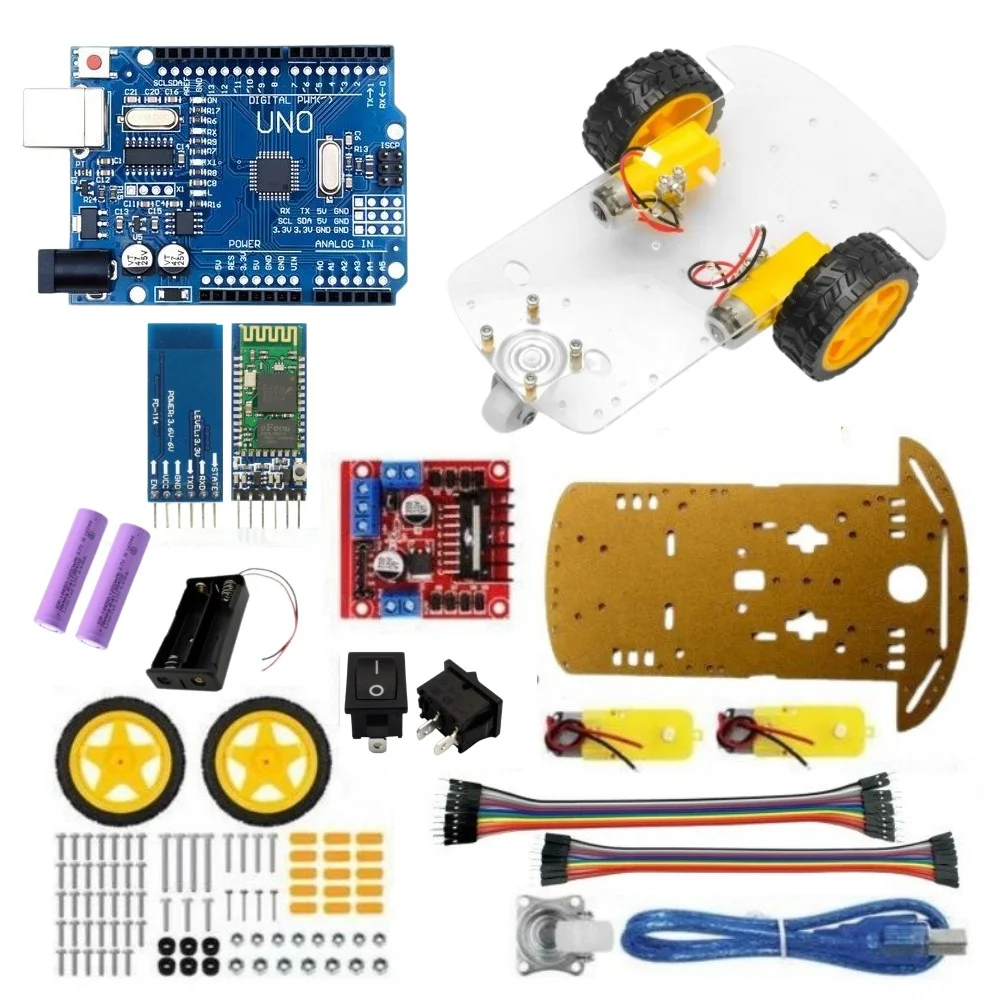
2WD Arduino Bluetooth Controlled Robot
Drive the robot from an Android phone and learn how serial communication actually works.
- Covers wireless data transfer
- Reliable in a crowded hall
- Easy to demonstrate to anyone
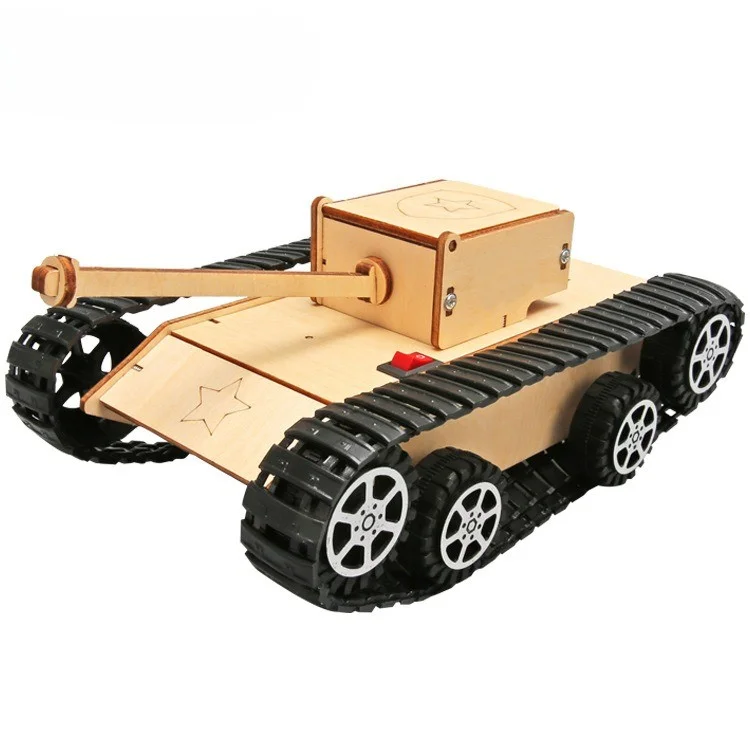
T-M211 Electric Tank Car DIY Kit
A tracked platform that shows friction, traction and differential steering in one build.
- Handles rough surfaces
- No programming needed to run
- Add sensors to it later
Learn the platform, then build anything
The two kits below are a different proposition. Instead of one finished robot, they give a student the board and a full set of components, so the projects are limited by what the student decides to build rather than by what came in the box.
This route suits a student with a few months rather than a few weeks, and it is by some distance the better value if they are likely to have another project next year.
6. Arduino starter kit with component box
A board, a breadboard, jumper wires, LEDs, resistors, buttons, a few sensors and a servo. The student starts by blinking a single LED, which sounds trivial and is not, because it is the first time they see their own instruction change something physical. From there the progression is LED to button to sensor to motor, and by the end they can build most of the projects above from parts rather than buying them assembled.
For an O Level Computer Science student this is the most directly useful item on the page, since it lets them build the exact sensor and control system examples the syllabus describes.
7. ESP32 IoT based learning kit
The ESP32 is a board like an Arduino but with WiFi and Bluetooth built into the chip. That single difference changes what is possible. A temperature reading can go to a phone or a web dashboard instead of a screen on the desk, and a light can be switched from anywhere with a connection.
This is the right choice for a student aiming at a home automation project, a remote monitoring system, or anything they want to describe as IoT. It is a step up in difficulty and the student should be comfortable with basic Arduino code first, but the projects it enables are noticeably ahead of what most exhibitions see. Our practical guide to Arduino and ESP32 projects for students goes deeper on choosing between the two boards.
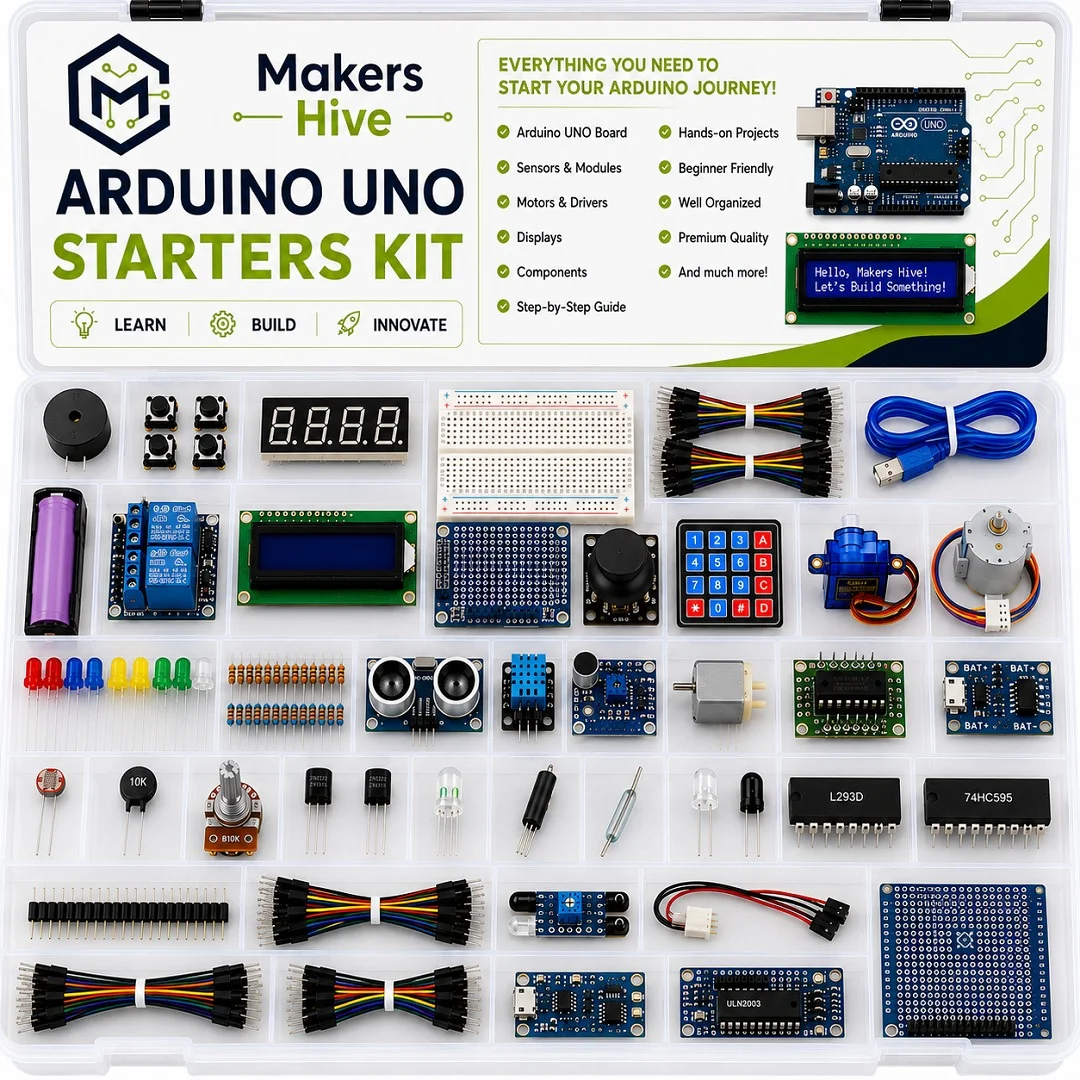
Arduino Starter Kit with Component Box
Board, breadboard, sensors and components, so the student builds projects instead of buying them.
- Covers years of projects
- Matches O Level CS topics
- Organised box, nothing loose
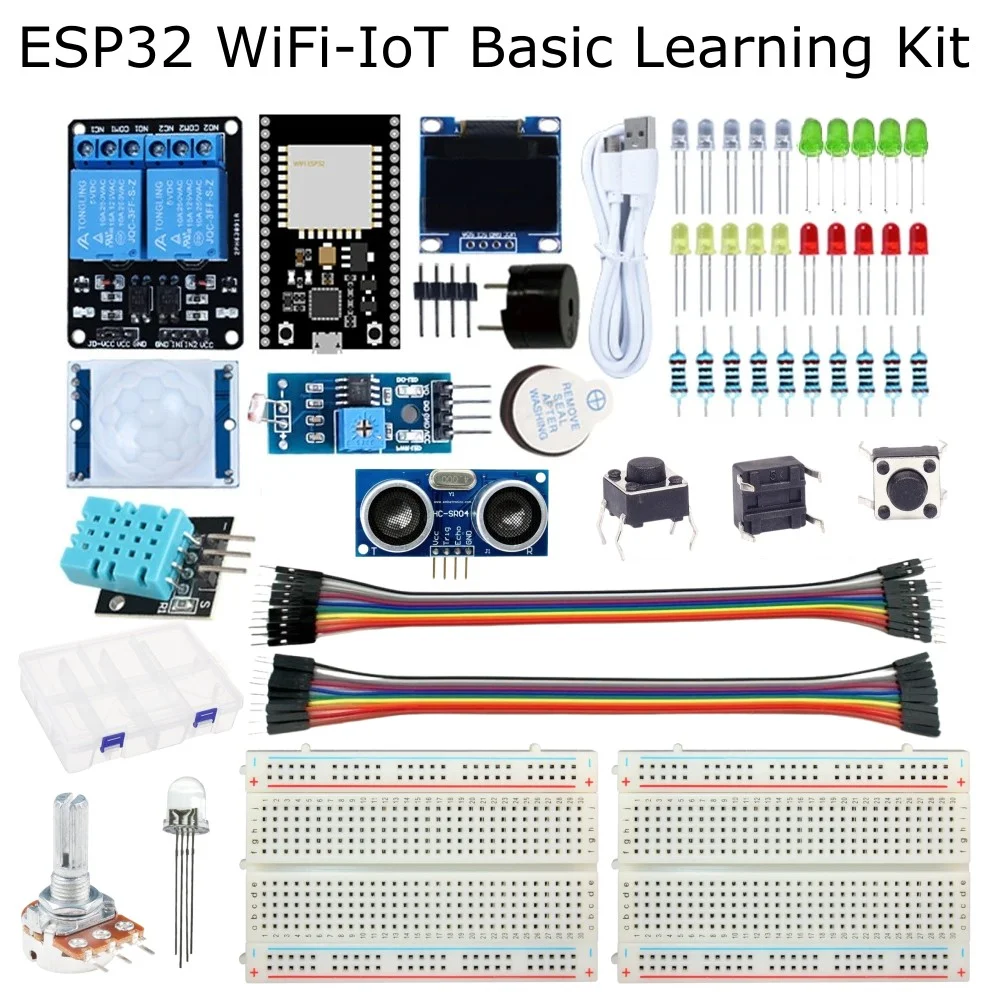
ESP32 IoT Based Basic Learning Kit
WiFi and Bluetooth on the board itself, for projects that send data to a phone or the internet.
- Home automation and monitoring
- Ahead of typical exhibition entries
- Learn basic Arduino first
Choosing between them
| Project | Coding needed | Main principle | Best for |
|---|---|---|---|
| Line following robot | Optional | Infrared reflection and feedback correction | A first robot, and live proof it is responding |
| Obstacle avoiding robot | Light | Ultrasonic distance and decision thresholds | Explaining how a program makes a choice |
| Object radar system | Moderate | Servo sweep with plotted distance data | Drawing attention and discussing applications |
| Bluetooth controlled robot | Light | Serial communication between devices | Short deadlines and reliable demonstration |
| Tracked tank platform | None to start | Friction, traction, differential steering | Physics topics and future expansion |
| Arduino starter kit | Yes | The full input, decision, output cycle | Students with time who want to build several projects |
| ESP32 IoT kit | Yes | Wireless data and connected devices | Home automation, monitoring, anything IoT |
Presenting an Arduino project to judges
- Print the code and keep it on the table. Judges ask to see it, and a printed copy shows the student is not hiding behind the hardware.
- Be able to point at one line and say what happens if you change that number. This is the single most convincing thing a student can do.
- Bring a charged power bank or spare battery pack. Motors drain batteries far faster than students expect, and a robot that dies halfway through the day is a wasted project.
- Test in the actual hall. Infrared line sensors behave differently under bright tube lights than they do at home, and calibration usually needs a small adjustment on site.
- Have a plan for when it fails, because at some point it will. A student who calmly says the sensor needs recalibrating and fixes it in front of the judge scores better than one whose project never faltered.
- Explain the problem before the project. Start with why obstacle detection matters, then show the robot. It frames the build as engineering rather than a hobby.
A note on unassembled kits: several of these ship unassembled, which is intentional. Assembling it is where the student learns the wiring and where the marks come from. Just do not leave it until the night before, because the first build almost never works first time and finding out why is the actual education.
Where this sits, and what comes next
If the student has not built anything before and this all sounds like a lot, start one level down. Our science projects for class 6, 7 and 8 covers models that need no coding at all, and the assembly skills carry directly over.
Everything in this article, plus chassis kits and more sensor robots, sits in Intermediate Electronics Kits. Once a student is writing and uploading their own code confidently, usually by class 10 or the second year of O Levels, Advanced Robotics and Arduino Kits covers robotic arms, programmable tank platforms and Raspberry Pi builds suited to A Level and university projects.
Frequently asked questions
Which Arduino project is best for class 10?
The obstacle avoiding robot and the object radar system are the strongest class 10 choices, because both demonstrate a clear decision the student programmed and both connect to real applications like parking sensors and vehicle detection. If time is short, the Bluetooth controlled robot is faster to build and still demonstrates wireless communication.
Do I need to know programming before buying an Arduino kit?
No. The line following robot and the tracked platform work through their sensor and driver circuitry without any code at all. For the projects that do need code, the programs are short, the Arduino language is beginner friendly, and there is a large amount of free material available. Most students write their first working program within a day.
Are these projects suitable for O Level students?
Yes, and they map unusually well onto the syllabus. O Level Computer Science covers sensors, microprocessors and control systems, and O Level Physics covers electricity, magnetism and electronic components. Building a sensor driven robot gives a student direct experience of both, which usually makes those chapters easier rather than the other way round.
How long does an Arduino robot project take to build?
Plan on two to six hours of assembly depending on the kit, then allow at least the same again for testing and fixing. The first build rarely works immediately, usually because of a loose connection or a sensor that needs calibrating. Starting a week before the deadline is comfortable. Starting the night before is not.
Should I buy a complete robot kit or an Arduino starter kit?
Buy a complete robot kit if there is a specific project with a deadline, since everything is included and it is designed to work together. Buy a starter kit if the student has time and is likely to have more projects ahead, because it teaches the platform itself and covers several years of builds rather than one.
What is the difference between Arduino and ESP32?
An Arduino is excellent at controlling motors, sensors and hardware directly and reliably. An ESP32 does the same things but has WiFi and Bluetooth built into the chip, so it can send data to a phone, a dashboard or the internet. Choose Arduino for robots and ESP32 for anything that needs to be connected.
Can I get help if the project does not work?
Yes. Bring the project to our shop on College Road in Rawalpindi and we will help identify what is wrong, or contact us with a photo of the wiring and a description of what it is doing. Most faults at this level turn out to be a loose jumper wire, a flat battery or a sensor threshold that needs adjusting.
Build something that reacts, not just something that moves
Complete Arduino robot kits with every component included, plus starter kits for students who want to build from parts. Delivery across Pakistan, and you are welcome to visit our shop on College Road, Rawalpindi to see the kits running before you buy.
