Soldering is one of the most important skills you’ll need when working with electronics. Whether you’re building a simple LED circuit or repairing a device, soldering allows you to make strong, reliable electrical connections.
In this beginner’s guide, we’ll walk you through the basics of soldering, including the tools you’ll need, how to do it safely, and step-by-step techniques for success.
What is Soldering?
Soldering is the process of joining two or more metal parts together using a filler material called solder. The solder melts when heated and cools to form a secure electrical connection.
- Solder is typically a combination of tin and lead (or lead-free alternatives like tin and copper).
- Soldering is used in building circuits, assembling PCBs (Printed Circuit Boards), and repairing broken connections.
Analogy: Think of solder as glue, but instead of holding wood or paper together, it bonds electronic components with electricity-friendly metal.
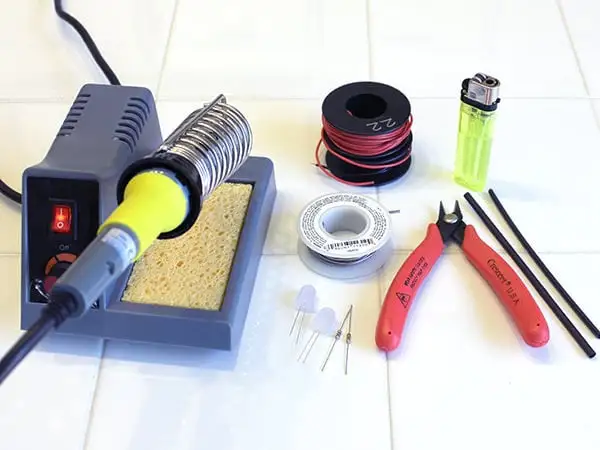
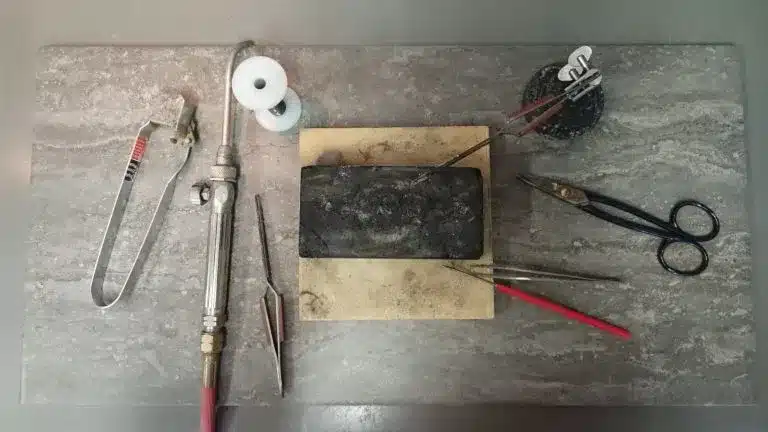
Essential Tools for Soldering
Before you start soldering, you’ll need the right tools:
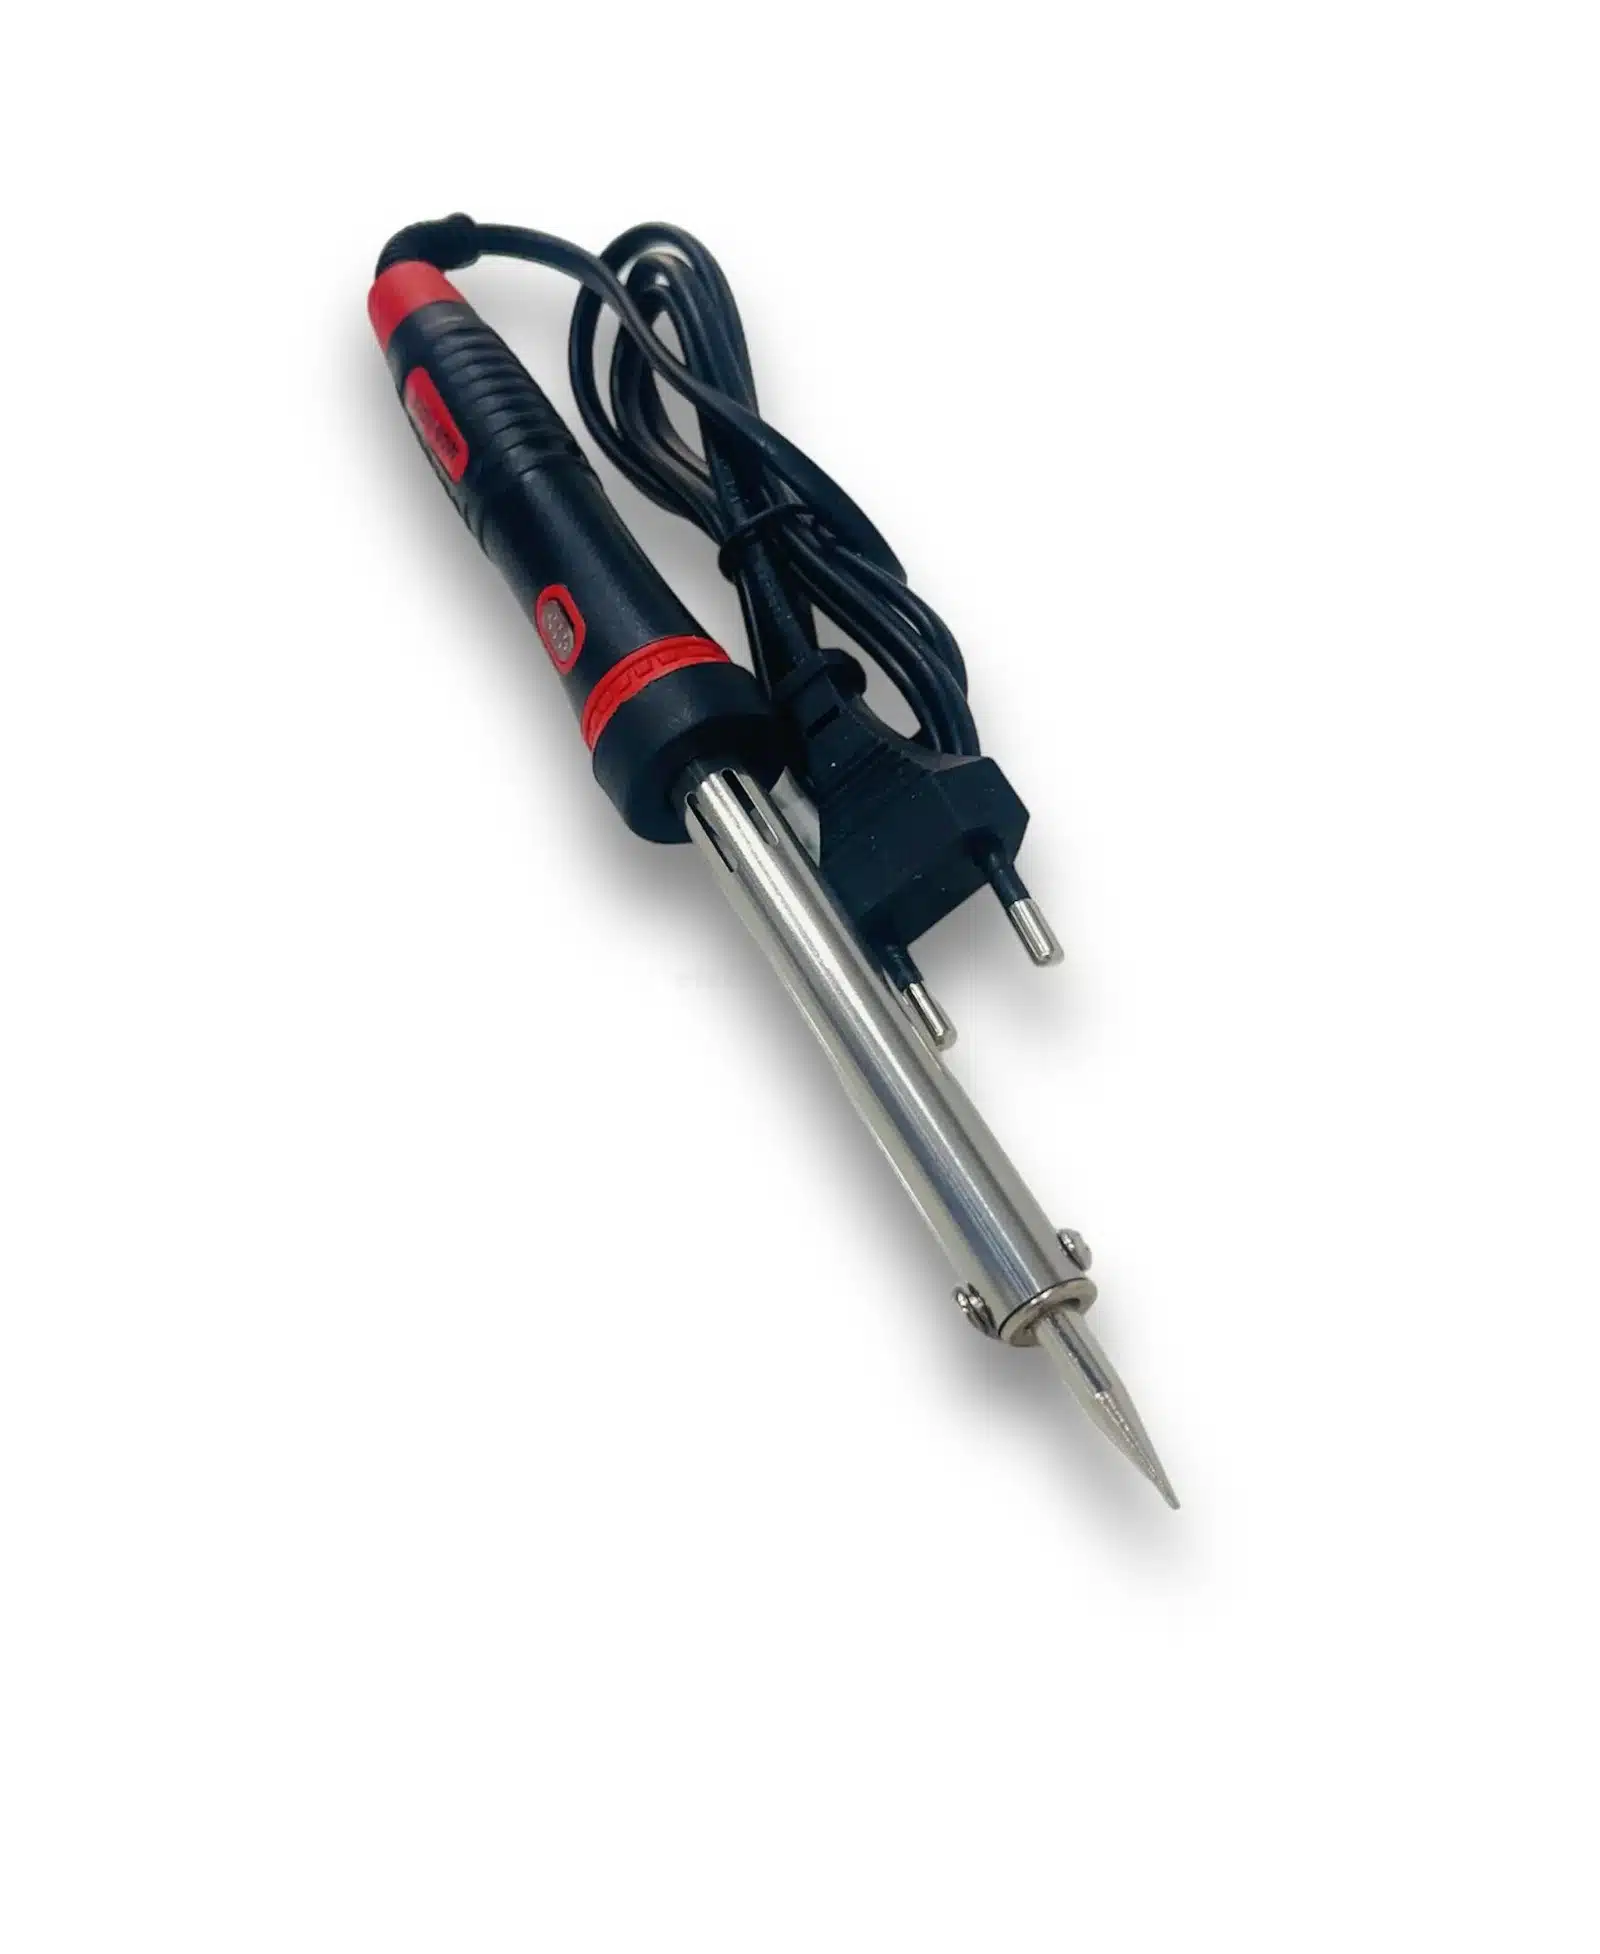
Soldering Iron
- A pen-shaped tool that heats up to melt solder.
- Beginners often use a 25–40W soldering iron for small projects.
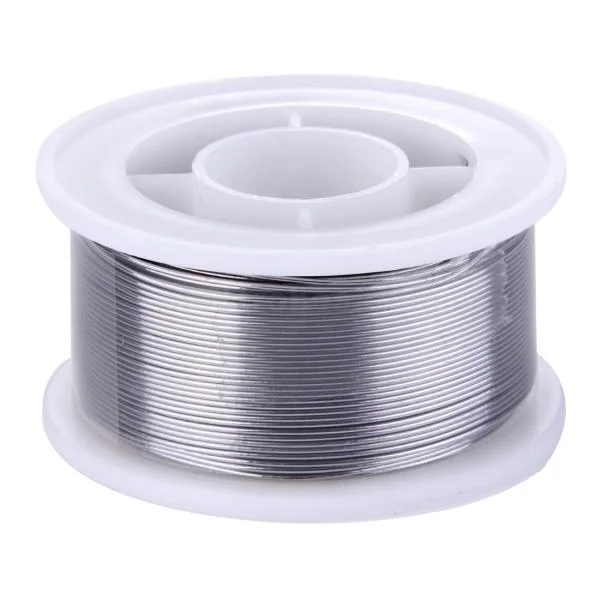
Solder Wire
- The material that melts to form connections.
- Available in lead-based and lead-free types.
Soldering Stand and Sponge
- The soldering stand keeps the hot iron safely stored when not in use.
- A damp sponge can be used to clean the tip between uses.

Other Useful Tools
- Tweezers for holding tiny components.
- Wire cutters for trimming excess leads.
- Desoldering pump or braid to remove mistakes.
Safety Tips for Beginners
Soldering involves high heat, so safety is essential.
- Always work in a well-ventilated area (fumes can be harmful).
- Never touch the metal tip of the soldering iron—it can reach 400°C.
- Wear safety glasses to protect your eyes from splashes.
- Keep flammable items away from your workspace.
Step-by-Step Soldering Guide
Follow these simple steps to solder your first circuit:
Step 1 – Prepare Your Workspace
- Place your tools on a heat-resistant surface.
- Secure your components on a breadboard or PCB.
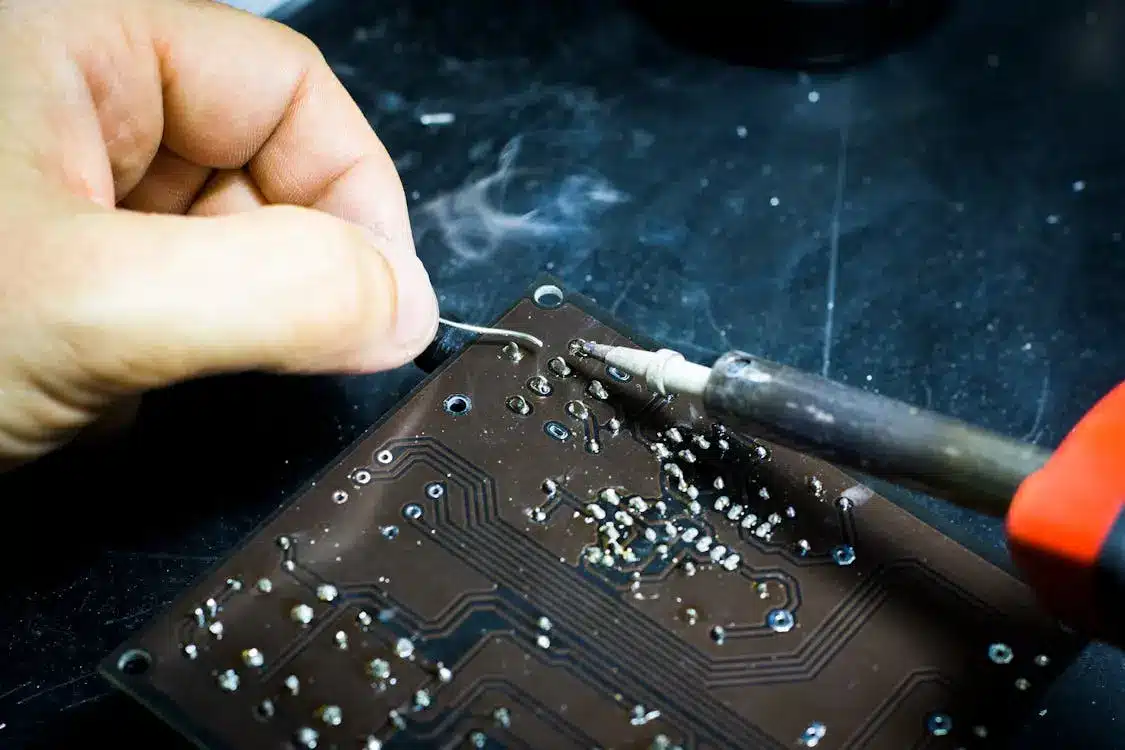
Step 2 – Heat the Joint
- Place the tip of the soldering iron on both the component lead and the pad of the PCB.
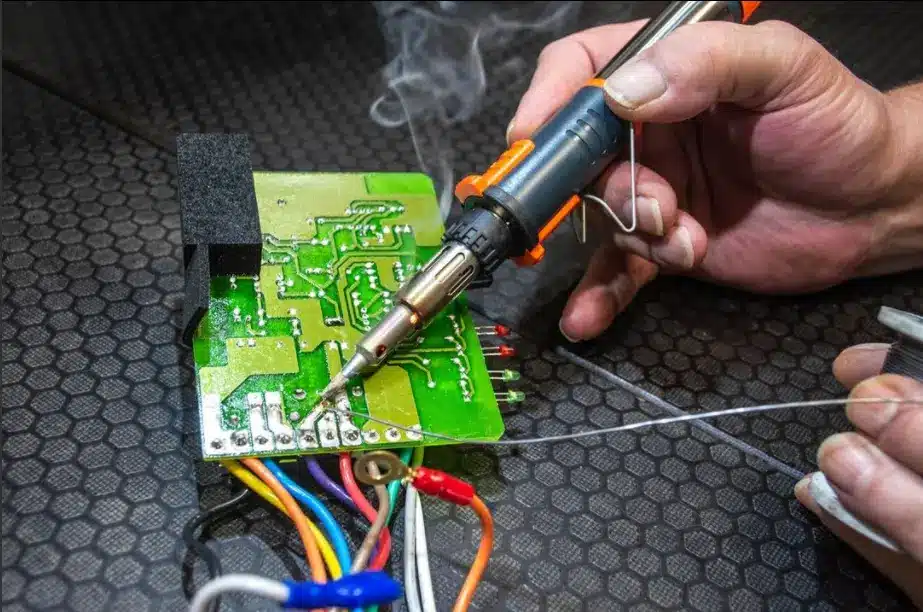
Step 3 – Apply the Solder
- Touch the solder wire to the heated joint (not the iron tip).
- The solder should flow smoothly and cover the connection.
Step 4 – Remove the Heat
- Pull away the solder wire first, then the iron.
- Let the joint cool naturally for a few seconds.
Step 5 – Inspect Your Joint
- A good solder joint looks shiny and cone-shaped.
- If it looks dull, lumpy, or cracked, reheat and add more solder.

Common Mistakes to Avoid
- Cold Joints: Caused by not heating both surfaces enough, will lead to weak connections.
- Excess Solder: Too much solder can cause short circuits.
- Overheating Components: Prolonged heating can damage delicate parts.
- Dirty Iron Tip: A dirty tip makes soldering messy; clean it regularly.
- Beginner Mistake:

Beginner-Friendly Practice Projects
When learning soldering, start small:
- Soldering an LED with a resistor on a small PCB.
- Building a simple flashing LED circuit.
- Repairing broken wires in a low-voltage gadget.
These simple exercises build confidence before moving on to complex projects.
Conclusion
Therefore, Soldering is a must-have skill for anyone interested in electronics. With the right tools, safe habits, and practice, even beginners can create professional-looking connections.
👉 Grab your basic soldering kit(Soldering Iron, Soldering Wire, Soldering Iron Paste, & Soldering Iron tip cleaning sponge) and start experimenting—you’ll be amazed how quickly you improve!