
Class 9 is the year school science exhibitions start to matter. A working robot that moves, senses and reacts gets attention, and it is easier to build than most students expect.
This guide gives you three robotics projects for class 9, each with a clear parts list, a wiring order you can follow at home, and tips for the demonstration day. All parts are available from College Road Electronics in Rawalpindi with nationwide delivery.
Which robotics projects for class 9 can students build at home?
The best robotics projects for class 9 are a line follower robot, an obstacle avoiding robot with an ultrasonic sensor, and a Bluetooth controlled car. Each needs an Arduino board, a motor driver, two or four geared motors, a battery pack, a chassis and jumper wires. Total parts cost is modest and builds take a weekend.
Which robotics projects are suitable for Class 9 students?
Three builds fit Class 9 well: a line follower, an obstacle avoiding robot, and a Bluetooth controlled car. All three use the same core parts, so you can build one and upgrade it later.
They work because they need no soldering on the main circuit, use 5V logic that is safe for beginners, and show a clear cause and effect during a demonstration. A judge or teacher can see the robot sense something and respond.
- Line follower: follows a black line on white paper using infrared sensors. Best for a first build.
- Obstacle avoiding robot: uses an ultrasonic sensor to detect walls and turn away. Good for a corridor or table demo.
- Bluetooth controlled car: you drive it from a phone app. Best for open-floor exhibitions.
If your school allows only one project, pick the line follower. It is the most reliable indoors and needs the fewest parts.
What is the minimum parts list for a Class 9 robot project?
You need a microcontroller board, a motor driver, motors, a battery pack, a chassis, and wires. Everything else is optional.
Here is a practical list.
| Part | Why you need it | Price |
|---|---|---|
| Arduino Uno or compatible board | Brain of the robot | Ask in store |
| L298N or TB6612 motor driver | Lets the board control motors | Ask in store |
| 2 or 4 geared DC motors with wheels | Movement | Ask in store |
| Robot chassis | Holds everything together | Ask in store |
| 4x AA battery holder or 9V battery | Power | Ask in store |
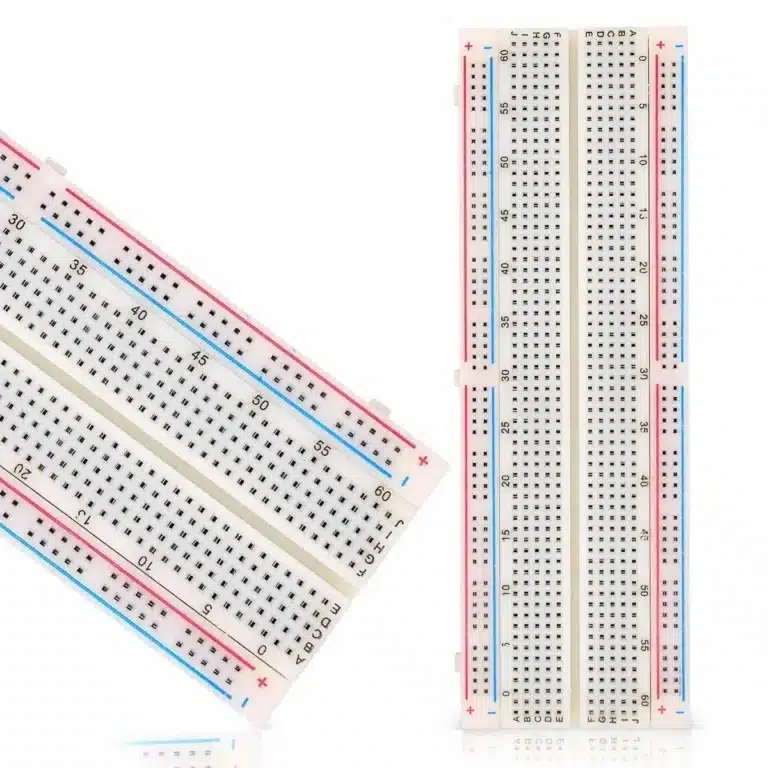
| MB102 830 Tie Points Solderless Breadboard | Prototyping without soldering | Rs. 240 |
| 5mm LEDs (Red, Green, Blue, Yellow, White and Red/Blue) | Status lights | Rs. 5 |
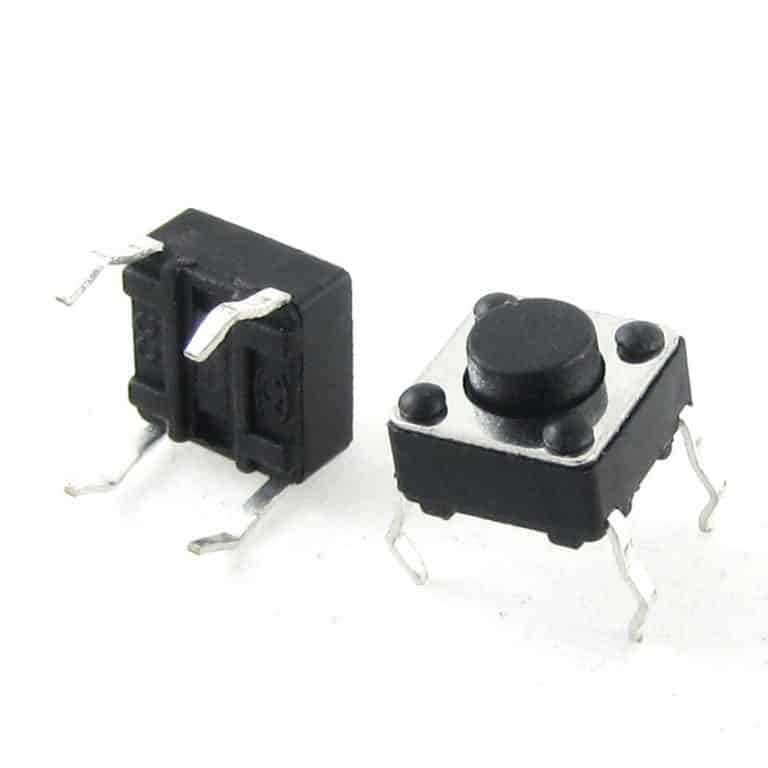
| Tactile Push Button Switch (Big/Small) | Start/stop button | Rs. 5 |
| BC547 NPN Transistor (50V 0.3A) | Drives buzzers or extra LEDs | Rs. 7 |
| 40 Pin Female Header Strip 2.54mm Pitch | Clean sensor connections | Rs. 30 |
For sensors, add two IR sensor modules for the line follower, or one HC-SR04 ultrasonic module for the obstacle avoider. Browse the full Boards, Modules and Accessories range to match your budget.
How do you build a line follower robot step by step?
A line follower uses two infrared sensors to see a black line on a white surface. When a sensor sees black, the robot steers that side back toward the line.
This is the most forgiving first build because you can test it on a table with printed or taped lines.
What you need
- Arduino Uno and USB cable
- L298N motor driver
- 2 geared DC motors with wheels and a caster wheel
- 2 IR sensor modules
- Chassis, battery holder, jumper wires
- Breadboard and LEDs for status
Steps
- Mount the motors and caster wheel on the chassis.
- Connect motor wires to the L298N output terminals. Left motor to OUT1 and OUT2, right motor to OUT3 and OUT4.
- Connect the L298N inputs to Arduino pins 5, 6, 9 and 10.
- Wire the IR sensors: VCC to 5V, GND to GND, and each OUT pin to Arduino pins 2 and 3.
- Power the L298N from the battery pack. Connect the Arduino 5V to the L298N 5V pin only if your driver board supports it, otherwise power the Arduino separately.
- Add a red LED through a resistor as a power indicator, and a push button on pin 4 to start and stop.
- Upload a sketch that reads both sensors and sets motor direction: both see white, go forward; left sees black, turn left; right sees black, turn right.
- Test on a white sheet with a black tape line. Adjust sensor height until the LEDs on the sensor modules switch cleanly.
Tune the speed in code. Slower is more accurate for a first run.
How do you build an obstacle avoiding robot with an ultrasonic sensor?

The robot sends a sound pulse forward, measures the echo time, and turns when something is close. The HC-SR04 module handles the sensing and the Arduino handles the decision.
This build impresses in a corridor or on a table with a wall at the end.
What you need
- Arduino Uno
- L298N motor driver
- 2 or 4 geared motors
- HC-SR04 ultrasonic sensor
- Chassis, battery pack, jumper wires
- Buzzer and a BC547 transistor if you want an audible alert
Steps
- Mount the ultrasonic sensor at the front of the chassis, facing forward, at least a few centimetres off the ground.
- Wire the sensor: VCC to 5V, GND to GND, Trig to pin 7, Echo to pin 8.
- Connect the motor driver as in the line follower build.
- Upload a sketch that triggers a pulse, reads the echo, and calculates distance.
- Set a threshold, for example 20 cm. If the distance is below it, stop, reverse briefly, then turn.
- Add a buzzer through the BC547 transistor to beep when an obstacle is detected.
- Test in a corridor with soft walls first, then a room with furniture.
Ultrasonic sensors can miss soft or angled surfaces. Keep the sensor level and avoid pointing it at curtains.
How do you build a Bluetooth controlled car with Arduino?
You pair an HC-05 or HC-06 Bluetooth module with the Arduino and drive the car from a phone app. Commands arrive as single characters over serial and map to motor directions.
This is the most fun build for an exhibition because visitors can drive it.
What you need
- Arduino Uno
- L298N motor driver
- 4 geared motors or 2 motors with a caster
- HC-05 or HC-06 Bluetooth module
- Chassis, battery pack, jumper wires
- LEDs for headlights and a button for horn
Steps
- Mount the motors and wheels, then fix the Arduino and driver board on top.
- Wire the motor driver to the Arduino as before.
- Connect the Bluetooth module: VCC to 5V, GND to GND, TX to Arduino RX, RX to Arduino TX through a voltage divider if needed.
- Upload a sketch that reads serial characters: F forward, B back, L left, R right, S stop.
- Pair your phone with the module. Default PIN is usually 1234 or 0000.
- Install a simple Bluetooth controller app and map buttons to those characters.
- Test on an open floor. Keep the phone within a few metres.
If the car moves in the wrong direction, swap the two wires of that motor or reverse the logic in code.
How do you power your robot safely with batteries?
Use a separate battery pack for the motors and keep the Arduino on its own supply or a regulated 5V line. Motors draw sudden current spikes that can reset the board.
- 4x AA alkaline cells give about 6V, enough for most small geared motors.
- A 9V battery works for testing but drains fast under motor load.
- For longer runs, use a 6V or 7.4V rechargeable pack with a suitable charger.
- Add a switch between the battery and the driver so you can cut power quickly.
- Never connect a battery pack directly to the Arduino 5V pin.
If your robot resets when motors start, the battery is too weak or the wiring is too thin. Move to a bigger pack or add a capacitor across the motor driver supply.
What should your Class 9 project report and demonstration include?
A short report with clear sections and a live demo is what earns marks. Keep it honest about what worked and what you changed.
- Title and aim: one line on what the robot does.
- Components list: every part with quantity and price.
- Circuit diagram: hand-drawn is fine if it is neat.
- Code: print your sketch with comments.
- Working principle: explain how the sensors and motors interact.
- Testing and problems: note what failed and how you fixed it.
- Conclusion: what you learned and what you would improve.
On demonstration day, charge your batteries, bring spare jumper wires, and keep a printed copy of your code. Practise the run three or four times before the event.
Where can students in Pakistan buy robotics kits and spare parts?
College Road Electronics in Rawalpindi stocks boards, modules, motors, sensors and accessories, with nationwide delivery across Pakistan at a flat rate of Rs 350.
You can order online from the Boards, Modules and Accessories category, or visit the shop on College Road if you are local. Students get guidance on which parts match their project.
Useful starting points:
- Boards and Programmers for Arduino and compatible boards.
- Accessories for wires, headers and small parts.
- Buck, Boost Converters and Regulators for stable power.
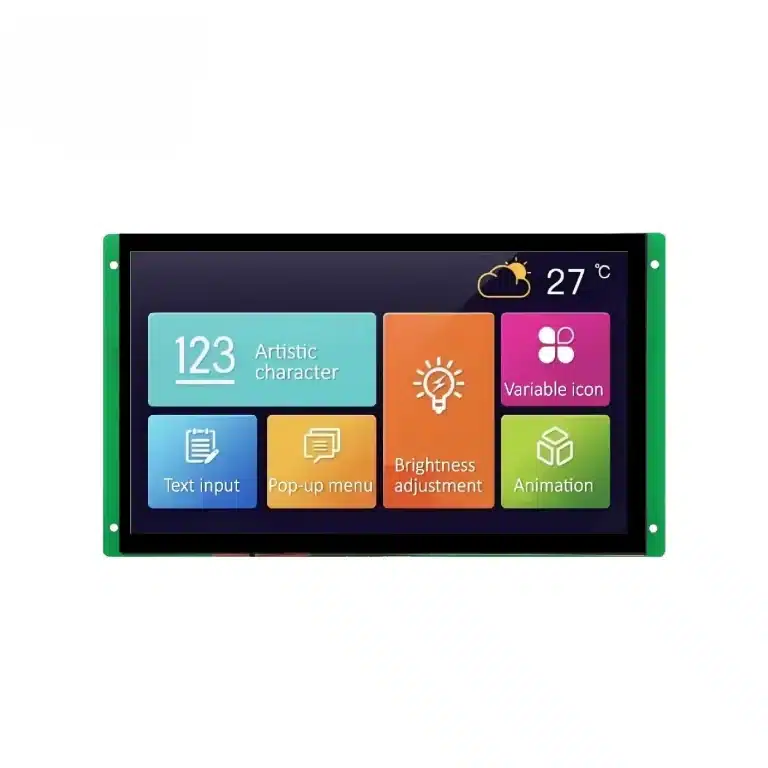
- Display Modules and LCDs if you want to show sensor readings.
If you are still choosing a project level, our guide to easy science projects for class 6, 7 and 8 shows how to build up skills before Class 9.
Frequently asked questions
Which robotics project is easiest for a Class 9 student?
A line follower robot is the easiest. It needs only two IR sensors, a motor driver and two motors, and it works reliably on a table with a taped line. You can build and test it in a weekend, and the behaviour is easy to explain to judges.
How much does a Class 9 robotics project cost in Pakistan?
A basic line follower or obstacle avoiding robot costs a few thousand rupees for the board, driver, motors, chassis and battery pack. Small parts like LEDs, buttons and transistors cost Rs. 5 to Rs. 30 each.
Do I need soldering to build a Class 9 robot?
No. You can build the whole circuit on a breadboard with jumper wires. Soldering is only needed if you want a permanent board or if your motor wires are loose. Start with a breadboard and move to soldering later.
Which battery is best for a small robot?
A 4x AA holder giving about 6V is a good starting point for small geared motors. A 9V battery works for testing but drains quickly under motor load. For longer runs, use a rechargeable pack matched to your motor voltage.
Can I build a Bluetooth controlled car without a motor driver?
No. Arduino pins cannot supply enough current for motors. You need a motor driver such as the L298N or TB6612 between the Arduino and the motors. Connecting motors directly can damage the board.
Where can I buy robotics parts in Pakistan for a school project?
College Road Electronics in Rawalpindi sells boards, modules, motors, sensors and accessories, with nationwide delivery at a flat rate of Rs 350. Students can order online and get guidance on parts for their project.
