Overview: T-M53 Automatic Motorized Plotter DIY Learning Kit
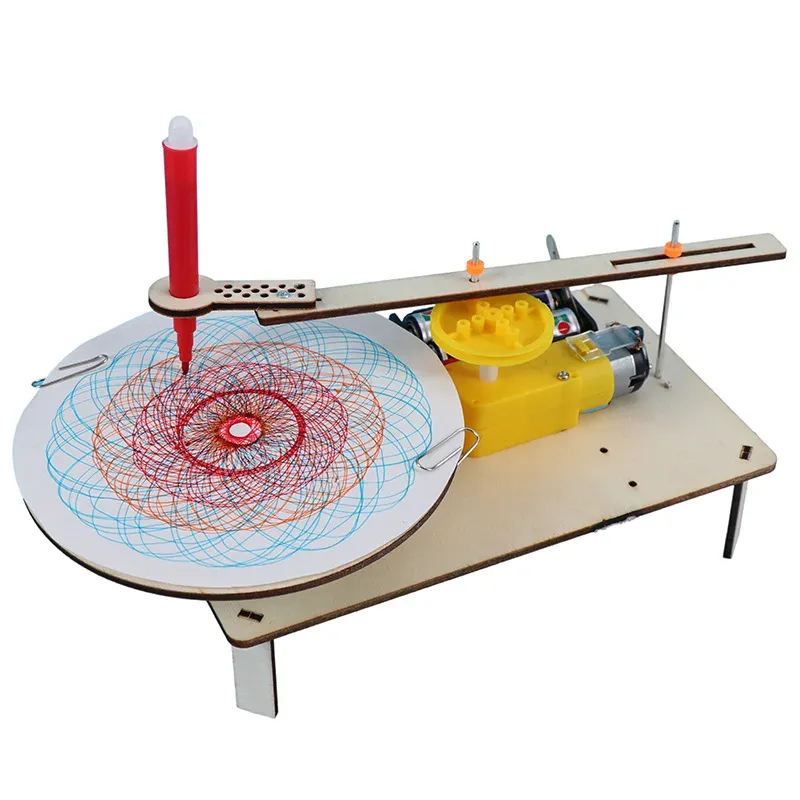
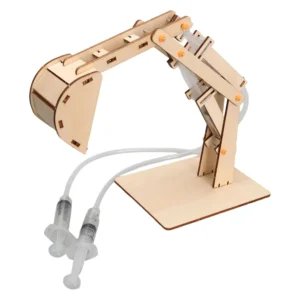
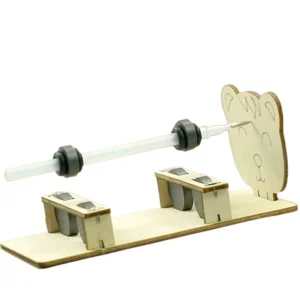
The T-M53 Automatic Motorized Plotter DIY Learning Kit is an interactive educational project designed to teach mechanical automation, robotics, and control systems through hands-on building. Students and hobbyists assemble a functioning motorized plotter that sketches patterns automatically using mini DC motors and a pen mechanism. This kit blends mechanical design, electronics, and creative problem solving to deliver an engaging STEM experience.
Key Features and Highlights
- Build a working plotter machine that draws shapes and repetitive patterns using motorized linkages
- Learn robotics and automation concepts including motion control, synchronization, and mechanical linkages
- STEM educational project integrating mechanical design, electronics, and creative thinking
- DIY assembly with all pre-cut components, mounting hardware, and clear instructions
- Battery-powered motorized operation for realistic movement and easy classroom use
- Durable and reusable construction for repeated demonstrations and experiments
What Students and Makers Will Learn
- Principles of motion mechanics and mechanical linkages used in plotters and CNC-style machines
- How DC motors, gears, and mountings work together to produce precise movement
- Fundamentals of basic control systems and synchronization between moving parts
- Practical skills in assembly, troubleshooting, and mechanical design thinking
Package Includes
- Wooden or plastic chassis and frame parts
- Mini DC motors with gear system
- Pen holder and drawing platform
- Connecting rods and linkages
- Wires, connectors, and mounting screws
- Battery holder (for DC power)
- Instruction manual and assembly guide
Specifications
- Power supply: 3V to 6V DC (battery-operated)
- Motor type: Mini DC motors with gear mechanism
- Material: High-quality plastic or wood components
- Assembly type: DIY unassembled kit
- Skill level: Intermediate
- Learning focus: Automation, robotics, motion mechanics, and engineering design
Use Cases and Ideal Audiences
- STEM classrooms looking for hands-on projects that explain automation principles
- Robotics clubs and maker spaces for practical demonstrations of motion control
- Science fairs and exhibitions as an engaging project to showcase engineering concepts
- Hobbyists interested in DIY robotics and small-scale CNC-style mechanisms
Assembly Tips and Best Practices
- Follow the instruction manual step-by-step and lay out all parts before you begin
- Check motor orientation and gear alignment to avoid binding in the linkages
- Use fresh batteries within the 3V to 6V range for best performance
- Test movement at lower voltages first, then increase to achieve desired drawing speed
- Keep screws snug but avoid overtightening plastic parts to prevent cracking
Frequently Asked Questions
- Q: What tools are needed? A: Basic screwdrivers and pliers are usually sufficient.
- Q: Is coding required? A: No programming is required to assemble and operate the basic kit.
- Q: Can the plotter be modified? A: Yes, the design is reusable and can be reconfigured for custom experiments.
Note: Images are for illustration purposes only.
Category: DIY School Kits


Reviews
There are no reviews yet