
Overview
The T-M302 Walkie-Talkie Intercom DIY Learning Kit is a hands-on electronics project designed to teach students and hobbyists the fundamentals of wireless communication and sound transmission. This DIY kit lets learners build and operate a functional two-way walkie-talkie system and discover how voice signals are converted, transmitted, and received using radio frequency technology.
Who this kit is for
- Students interested in electronics and communication engineering
- STEM classrooms and after-school programs
- Electronics clubs, makerspaces, and science fair projects
- Hobbyists wanting a practical introduction to radio and audio circuits
What you will learn
- Basics of radio frequency (RF) communication and signal transmission
- How sound is converted to electrical signals and back to audio
- Fundamentals of transmitters, receivers, and amplification circuits
- Practical soldering, wiring, and circuit assembly skills
- Problem-solving, teamwork, and experimental troubleshooting
Key Features
- Wireless Signal Transmission: Demonstrates radio frequency-based voice communication between two units.
- Clear Audio Output: Transmits and receives sound effectively for short-distance communication.
- STEM Learning Focus: Teaches sound modulation, signal transmission, and basic circuit concepts.
- DIY Assembly Kit: All necessary components included for easy construction and testing.
- Battery Powered: Safe, portable, and ideal for classroom use without mains power.
- Project-Ready: Engaging for school projects, science fairs, and hands-on labs.
Package Includes
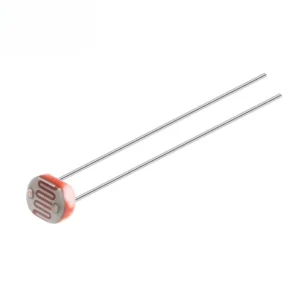
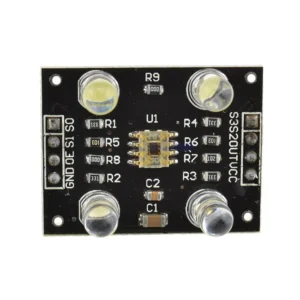
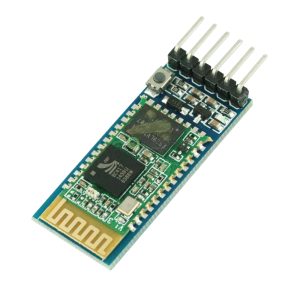
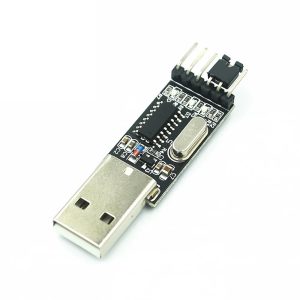
- Walkie-talkie circuit board (transmitter and receiver components)
- Antenna
- Battery holder
- On/off switch
- Set of wires and connectors
- Wooden or acrylic mounting frame
- Screws and hardware accessories
- Instruction manual with wiring diagrams and testing steps
Specifications
- Operating Voltage: 3 to 6 V DC
- Power Supply: Battery-operated
- Material: Wooden or acrylic frame with electronic components
- Assembly Time: 60 to 90 minutes
- Skill Level: Intermediate (basic electronics knowledge helpful)
Assembly and Testing Guide
Assembly is straightforward using the included instruction manual. Typical steps:
- Identify and sort components on a work surface.
- Mount the circuit board to the wooden/acrylic frame using the provided screws.
- Connect the antenna, battery holder, switch, and wiring according to the diagram.
- Insert batteries and verify power and indicator LEDs if present.
- Test transmission and reception between two assembled units, adjusting antenna orientation for best range.
Educational Benefits
- Explains radio wave communication and the conversion of sound to electrical signals.
- Shows real-world application of transmitters, receivers, and amplifiers.
- Encourages hands-on learning, critical thinking, and collaborative problem solving.
- Supports lesson plans on electronics, physics of waves, and communication systems.
Safety and Classroom Tips
- Recommended for supervised classroom activities for safety and guidance.
- Use appropriate battery types and avoid short circuits while wiring.
- Provide basic soldering training if the kit requires soldering; consider pre-soldered options for younger students.
- Test units outdoors or in open spaces to evaluate maximum communication range safely.
Frequently Asked Questions
- How long does assembly take? Typically 60 to 90 minutes depending on experience.
- What skill level is required? Intermediate; basic electronics and wiring knowledge is helpful but not mandatory.
- Can this be used in a classroom? Yes, it is battery-powered and safe for classroom and home use with supervision.
- Are spare parts available? Check with the supplier for replacement components and accessories.
Note: Images are for illustration purposes only.
Category: DIY School Kits


Reviews
There are no reviews yet