- Boards and Programmers, Boards, Modules and Accessories
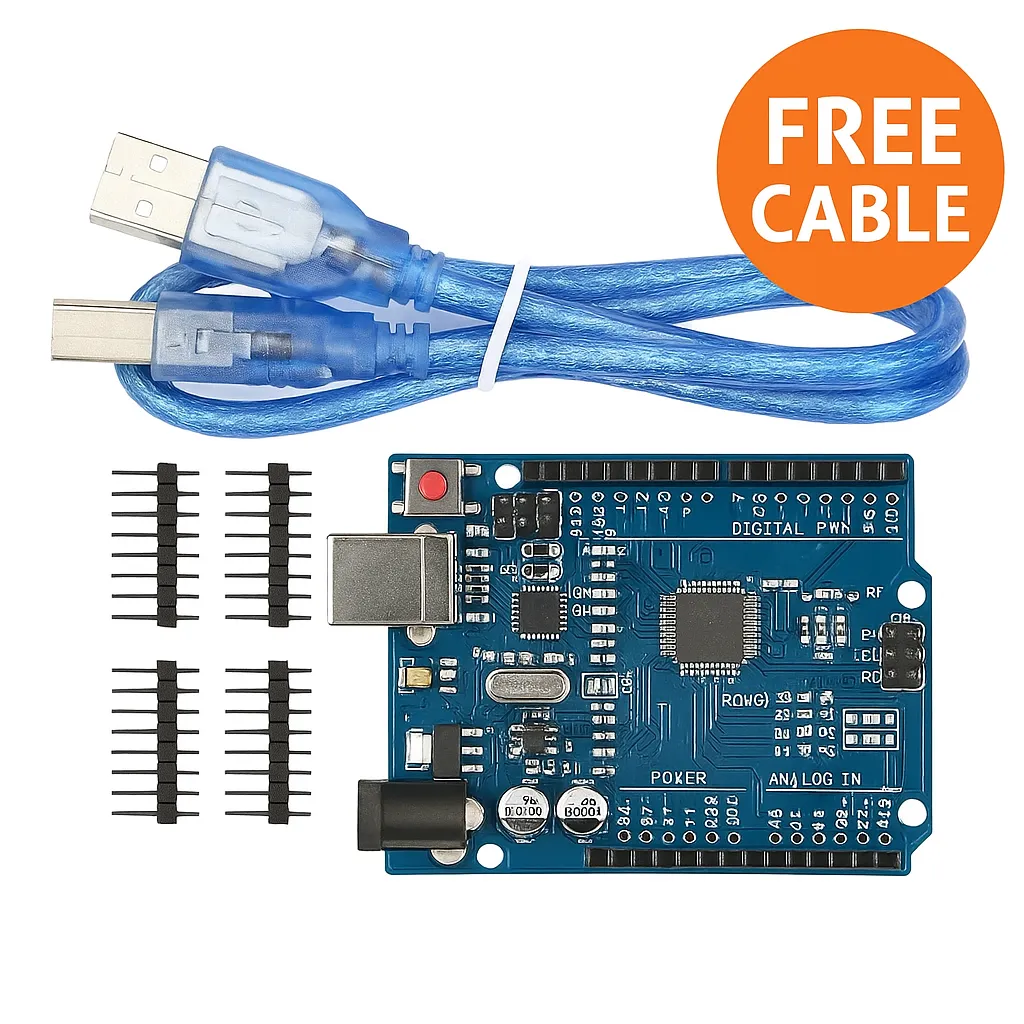
Arduino Uno R3 SMD Board with Free USB Cable
– Compact Arduino Uno R3 SMD board with ATmega328P SMD microcontroller
– Free USB Type B cable included for plug-and-play programming
– 14 digital I/O (6 PWM) and 6 analog inputs for sensors and actuators
– Stable 5V operation, supports 7–12V input via barrel jack or USB
– Full Arduino IDE support and compatibility with standard libraries
– Durable surface-mount design ideal for classrooms, kits, and projectsSKU: n/a - Accessories, Boards, Modules and Accessories
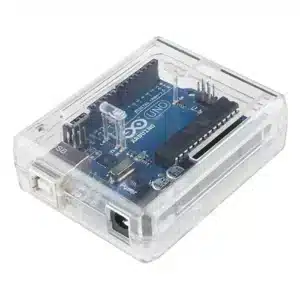
Transparent Acrylic Case for Arduino Uno R3
– Crystal-clear acrylic for full visibility of your Arduino Uno R3 board
– Durable protection against dust, debris and light impacts
– Precision cutouts for easy access to USB, power jack, headers and I/O ports
– Ventilation slots to improve airflow and reduce heat buildup
– Easy assembly with included screws and fasteners
– Compact and lightweight design ideal for portable projects and prototypesSKU: n/a
Arduino Uno R3 SMD Board with Free USB Cable
In stock
– Compact Arduino Uno R3 SMD board with ATmega328P SMD microcontroller
– Free USB Type B cable included for plug-and-play programming
– 14 digital I/O (6 PWM) and 6 analog inputs for sensors and actuators
– Stable 5V operation, supports 7–12V input via barrel jack or USB
– Full Arduino IDE support and compatibility with standard libraries
– Durable surface-mount design ideal for classrooms, kits, and projects
₨ 950 ₨ 1,250
In stock
Arduino Uno R3 SMD Board with Free USB Cable
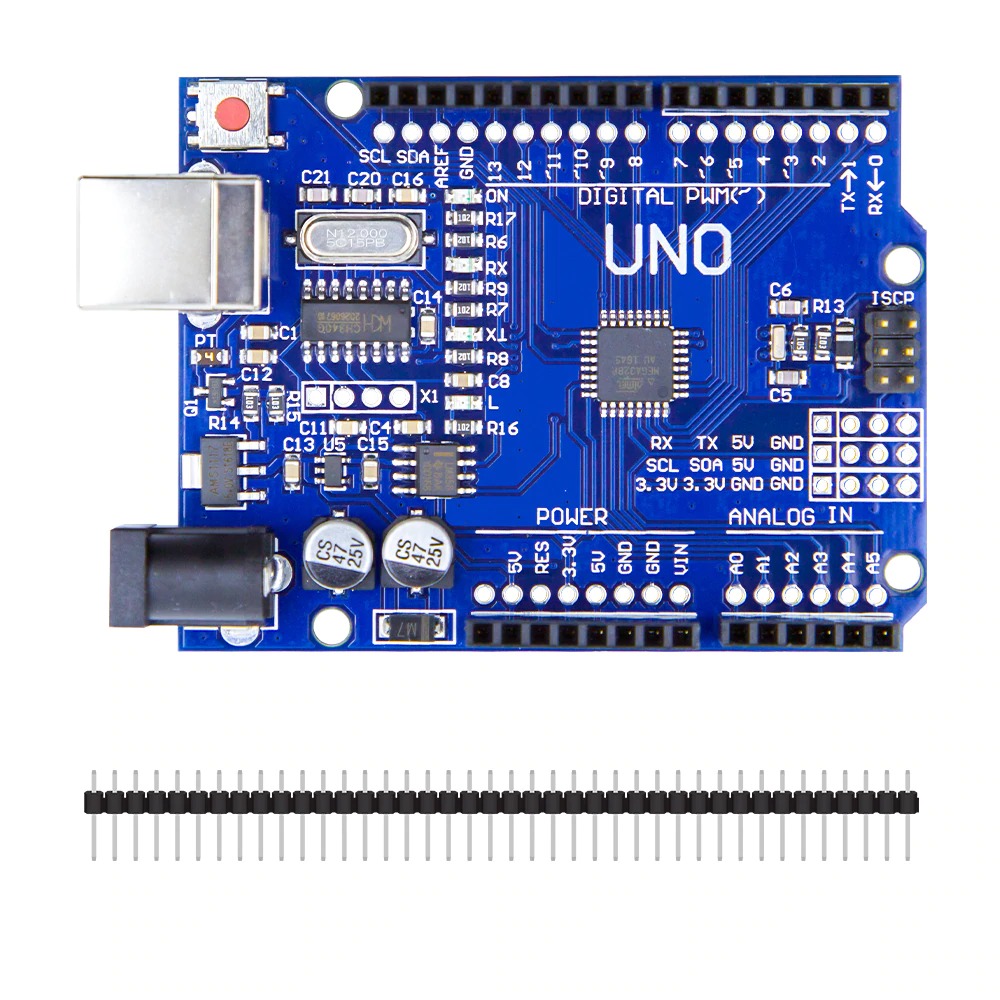
The Arduino Uno R3 SMD board is a compact, durable version of the popular Uno platform that delivers stable performance for beginners, hobbyists, and developers. With the ATmega328P soldered as an SMD (surface mount device), this board is built to withstand repeated uploads and classroom-level usage while remaining ready to program out of the box with the included USB cable.
What You Get
- 1 x Arduino Uno R3 SMD board (ATmega328P SMD)
- 1 x USB Type B cable (included)
- Quick start guidance and compatibility with Arduino IDE
Key Features – Arduino Uno R3 SMD
- ATmega328P SMD Microcontroller – Soldered for improved durability and compact layout.
- USB Connectivity – USB Type B port with cable included for easy plug-and-play programming.
- Full Arduino IDE Support – Works with standard Arduino libraries and examples.
- Digital and Analog I/O – 14 digital pins (6 PWM) and 6 analog inputs for sensors, motors, and relays.
- Stable Power Input – Operates at 5V; recommended input 7–12V via barrel jack or USB.
- Compact Dimensions – Approx. 68.6mm x 53.4mm, ideal for breadboards and enclosures.
Technical Specifications
- Microcontroller: ATmega328P SMD
- Operating Voltage: 5V
- Input Voltage (recommended): 7 6V to 12V
- Digital I/O Pins: 14
- PWM Channels: 6
- Analog Input Pins: 6
- Flash Memory: 32 KB
- Clock Speed: 16 MHz
- USB Port: Type B (cable included)
- Board Dimensions: 68.6 mm x 53.4 mm approx.
Designed for Real Projects
This Arduino development board is smooth to use, responsive during uploads, and excellent for classroom labs, starter kits, or DIY smart systems. The SMD chip reduces the risk of damage from frequent handling and keeps the board compact for tighter builds.
Ideal Applications
- Arduino projects starter kits
- Learning environments and classrooms
- Automation and IoT experiments
- Motor drivers, sensors, and relay control
- Beginners and intermediate developers
Getting Started – Quick Steps
- Install the Arduino IDE from arduino.cc.
- Connect the board to your computer using the included USB Type B cable.
- Select the Arduino Uno board and correct COM port in the IDE.
- Open the “Blink” example and upload to confirm operation.
Why Choose This Arduino Uno R3 SMD Board from Colgroad
At Colgroad, we provide makers in Pakistan with quality hardware at great value. This Arduino Uno R3 SMD version delivers reliable performance, convenience, and customer support. With a free USB cable included, you can start programming the moment it arrives.
Notes
Images are for illustration purposes only. The board is compatible with standard Arduino libraries and shields that do not require header changes. If you need support, Colgroad offers assistance across Pakistan for setup and troubleshooting.
5 reviews for Arduino Uno R3 SMD Board with Free USB Cable
Only logged in customers who have purchased this product may leave a review.
Vendor Information
- Store Name: College Road Electronics
- Vendor: College Road Electronics
-
Address:
Microwave Electronics, Basement Azhar Shaheed Plaza, DAV College Road
Rawalpindi
Punjab
46000 - 4.84 rating from 309 reviews
- DIY School Kits
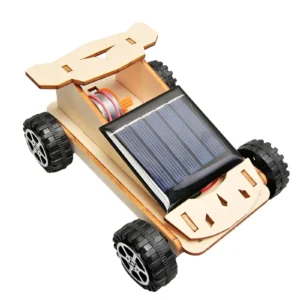
T-M294 Solar-Powered Car DIY Learning Kit
– Hands-on DIY solar car kit for beginners and classrooms
– No batteries required; powered by the included solar panel
– Teaches solar energy, DC motors, and basic electronics
– Encourages mechanical assembly, problem-solving, and creativity
– Ideal for STEM education, science fairs, and workshops
– Easy assembly with no soldering requiredSKU: n/a - Incubator and Poultry Industry
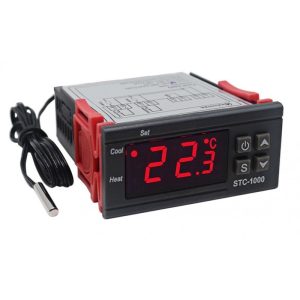
STC-1000 Digital Temperature Controller Module 220V
- STC-1000 digital temperature controller for 220V systems
- Plug-and-play temperature control module – DIN-rail mountable
- Precise relay control with 10 A switching capacity
- High accuracy: ±0.1 °C with 1-second sensor updates
- Built-in overload and short-circuit protection and cool-touch housing
- Programmable presets – store up to five schedules for different projects
SKU: n/a - Boards, Modules and Accessories, Wireless Communication
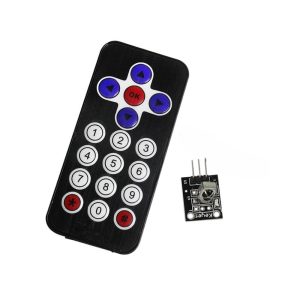
IR Infrared Remote Control and Receiver Module (TX/RX)
 Boards, Modules and Accessories, Wireless Communication
IR Infrared Remote Control and Receiver Module (TX/RX)
- Compact IR transmitter and receiver kit ideal for Arduino and DIY projects
- 21-key IR remote included with battery for immediate use
- High-sensitivity HX1838-compatible receiver, digital output
- 38 kHz IR frequency with a reliable 8-10 meter range
- Operates at 3.3V-5V and works with Arduino, ESP32, Raspberry Pi
- Plug and play design for rapid prototyping and home automation
SKU: n/a - Boards, Modules and Accessories, Accessories
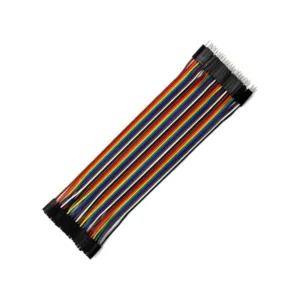
20cm Male-to-Female Pin-to-Hole Jumper Wires Set 20pcs/40pcs
 Boards, Modules and Accessories, Accessories
20cm Male-to-Female Pin-to-Hole Jumper Wires Set 20pcs/40pcs
– 20pcs or 40pcs male-to-female jumper wire set
– 20cm length for flexible connections
– Male pin to female socket for versatile interfacing
– Assorted colors for easy circuit identification
– Durable, insulated and reusable leads
– Compatible with Arduino, Raspberry Pi, ESP32 and moreSKU: n/a - Boards, Modules and Accessories
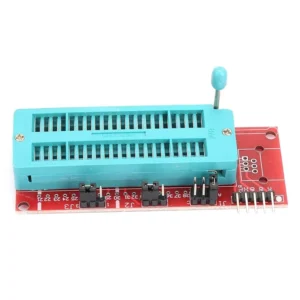
PIC Programming Adapter Module Board
– Universal adapter for programming a wide range of PIC microcontrollers including PIC16F and PIC18F series.
– Compatible with common PIC programmers such as PICkit 2, PICkit 3 and MPLAB ICD 2/3.
– Supports in-circuit programming (ICSP) and standalone chip programming with clearly marked pin labels.
– ZIF socket or IC holder version available for easy insertion and removal without damaging pins.
– Compact, portable design with high-quality PCB for stable and reliable operation.
– Ideal for students, hobbyists, and professionals for development, testing, and firmware updates.SKU: n/a - STEM & DIY Learning Kits
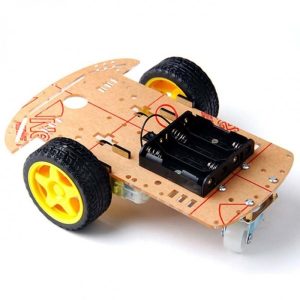
2WD Robot Car Chassis (Imported)
– Compact 2WD robot car chassis ideal for beginners and hobbyists
– Durable transparent acrylic base plate for secure mounting
– Includes two DC geared motors, two wheels and a caster wheel
– Universal compatibility with Arduino, Raspberry Pi and motor drivers
– Easy assembly with nuts, screws and motor mounts included
– Great starter platform for line following, obstacle avoidance and STEM projectsSKU: n/a



Muzzammil Imran (verified owner) –
Awsome this seller always gives the best products in very cheap price thanks for the products
Muzzammil Imran –
Tushar (verified owner) –
Tushar –
Haseeb (verified owner) –
Haseeb –
Abdul Momin (verified owner) –
Abdul Momin –
Ahsan Sajjad (verified owner) –
Ahsan Sajjad –