- Boards and Programmers, Students Corner
Arduino Mega 2560 With Logo (Original)
- Powerful Microcontroller: Based on the ATmega2560 clocked at 16MHz for robust performance.
- Ample Memory: Offers 256KB of Flash memory, 8KB of SRAM, and 4KB of EEPROM for storing code and data.
- Extensive I/O Pins: Features 54 digital I/O pins (15 PWM outputs) and 16 analog inputs for versatile interfacing.
- USB Connectivity: Easily connect to a computer for programming and power via USB Type-B.
- Flexible Power Options: Can be powered via USB or an external power supply (7-12V) for convenience.
- Easy Programming: Compatible with the Arduino IDE and supports a vast library of code and resources.
- Durable Design: Built with quality materials for reliability and longevity.
- Compatible with Shields: Works seamlessly with most Arduino shields for easy expansion and customization.
SKU: n/a - Boards and Programmers, Students Corner
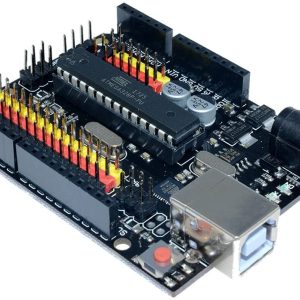
Arduino Uno R3 Plus DIP Board
- ATmega328P Microcontroller: Reliable and widely-used chip.
- DIP Package: Easy to replace or upgrade without special tools.
- Enhanced Design: Improved power management and pin accessibility.
- USB Interface: Simple connection for programming and power.
- Wide Compatibility: Works with Arduino shields, libraries, and software.
SKU: n/a - Accessories, Students Corner
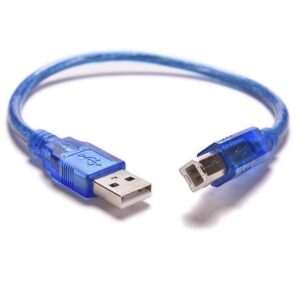
Arduino USB Cable
- Compatibility: Specifically designed for Arduino Uno and Mega 2560 boards.
- Durable Construction: Made from high-quality materials for long-lasting use.
- Fast Data Transfer: Supports USB 2.0 for quick and efficient data transfer.
- Stable Power Supply: Provides consistent power to your Arduino board during programming and testing.
- Generous Length: 1 meter (3.3 feet) cable length offers flexibility in positioning your board.
- Plug-and-Play: Easy setup with plug-and-play functionality, no additional drivers required.
- Versatile Use: Can be used with other USB Type-B devices beyond Arduino boards.
SKU: n/a
₨ 6,500 for 3 item(s)

There are no reviews yet.