Whether you are preparing for a final year project, exploring electronics as a hobby, or building skills for a career in embedded systems, microcontroller boards provide the foundation you need. This guide introduces practical projects using Arduino and ESP32 boards, helping you understand which board fits your requirements and how to get started with confidence.
Why Learn Microcontrollers as a Student?
Microcontrollers bridge the gap between theoretical knowledge and real-world applications. The concepts you study in electronics, programming, and physics come alive when you can make an LED blink, read sensor data, or control a motor with code you wrote yourself.
For engineering and computer science students in Pakistan, hands-on experience with Arduino and ESP32 provides a significant advantage. These platforms appear frequently in final year projects, job interviews, and freelance opportunities. Starting early gives you time to experiment, make mistakes, and build genuine understanding rather than rushing through tutorials before a deadline.
The maker community has also grown substantially, meaning you will find extensive documentation, video tutorials, and forums where experienced developers help beginners solve problems. This support network makes learning more accessible than ever before.
Understanding the Two Major Platforms
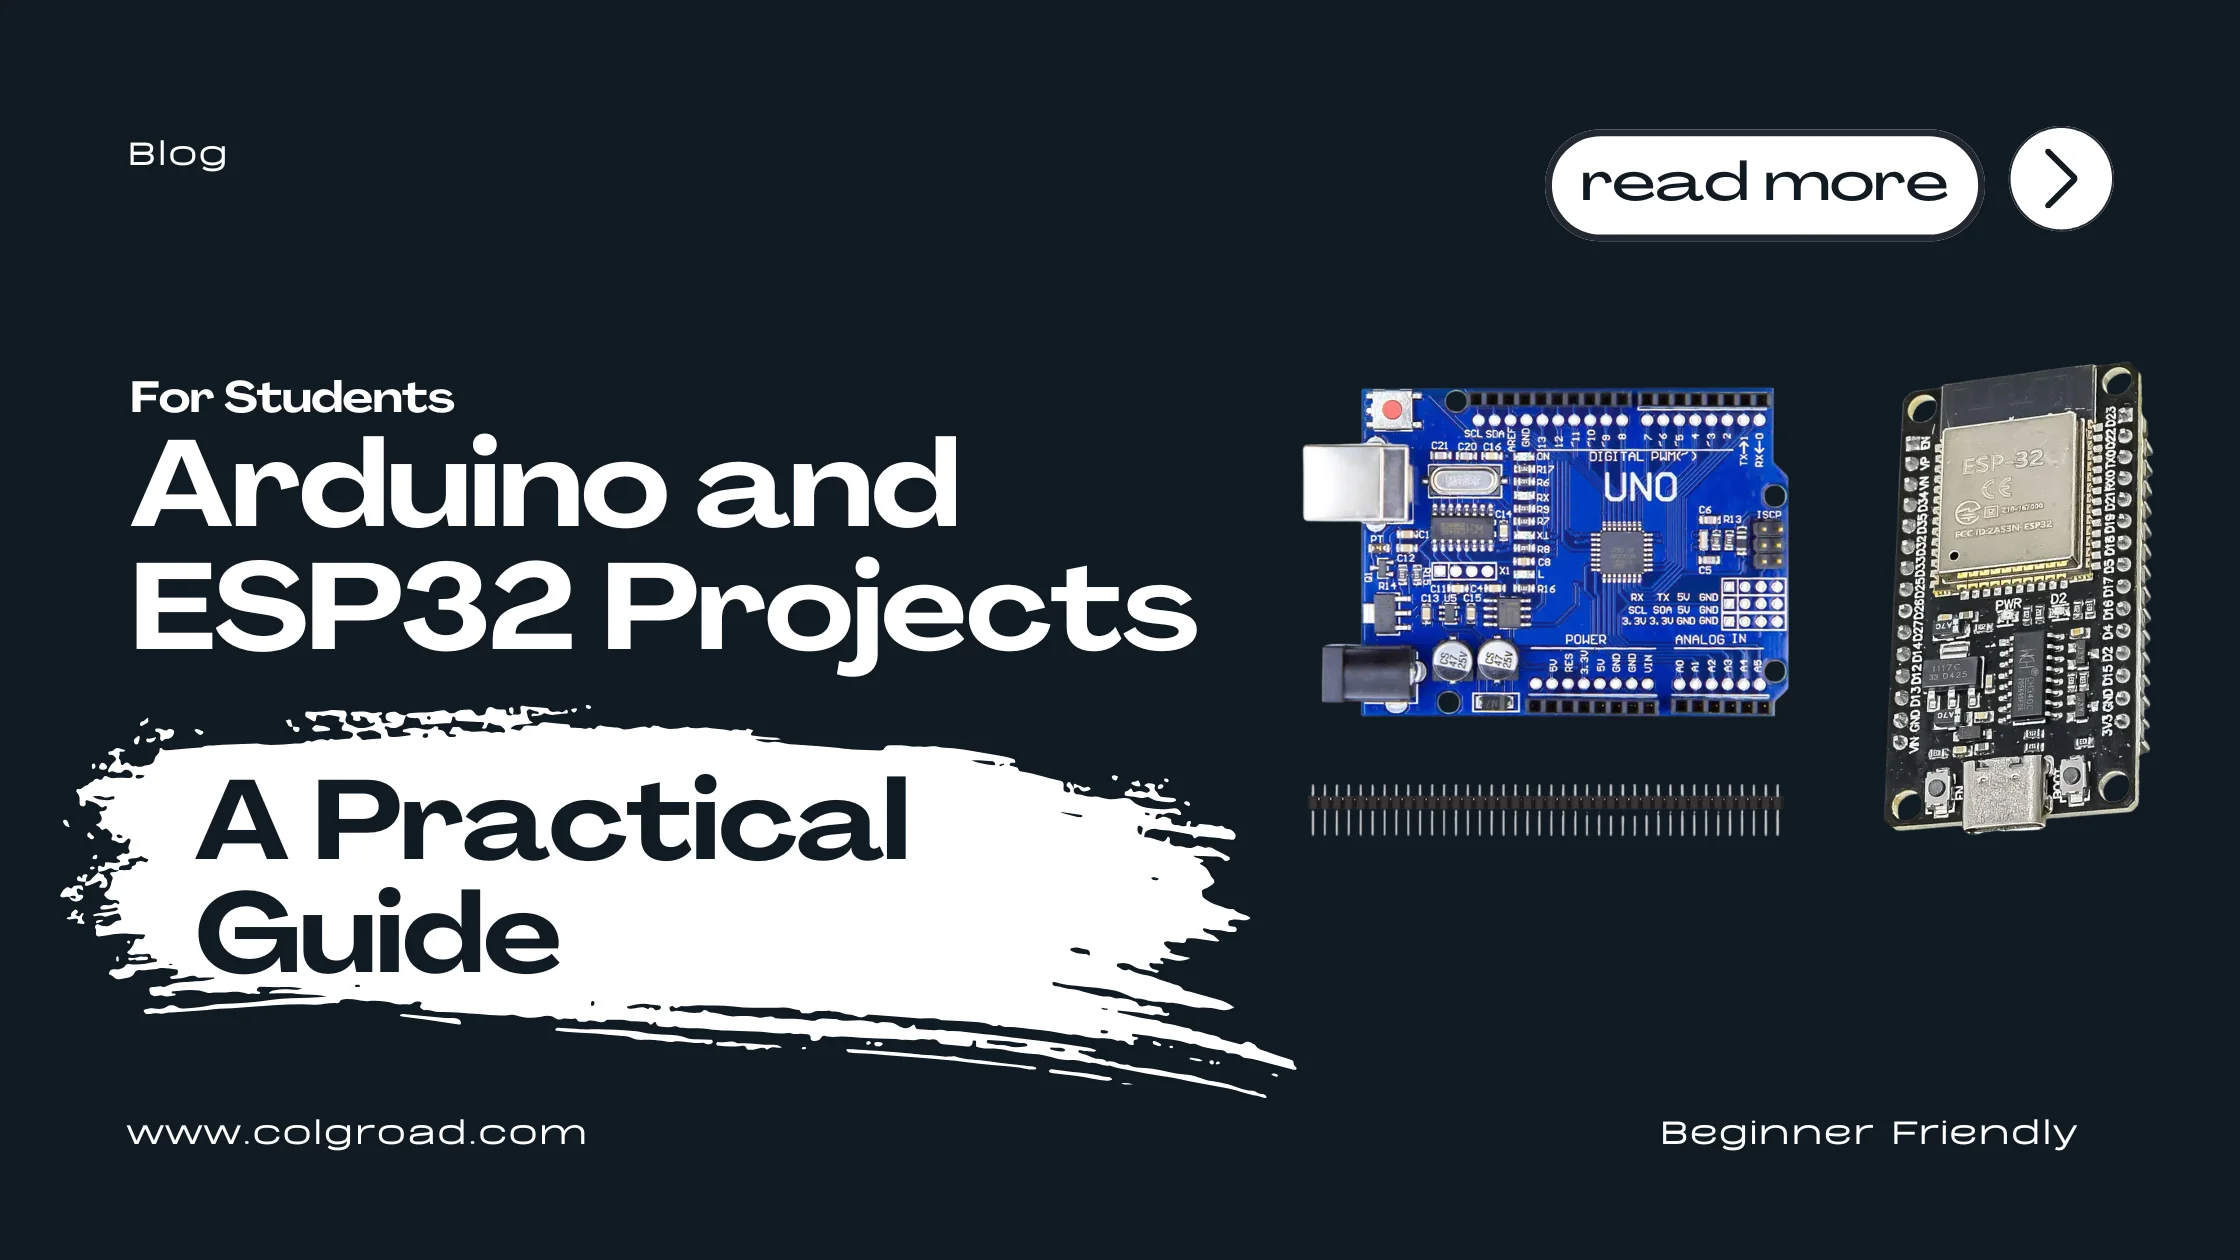
Arduino: The Learning Foundation
Arduino boards remain the most recommended starting point for beginners. The platform was designed specifically for education, featuring simplified programming syntax and extensive beginner-friendly documentation. When something goes wrong, you will almost certainly find someone who encountered the same issue and documented the solution.
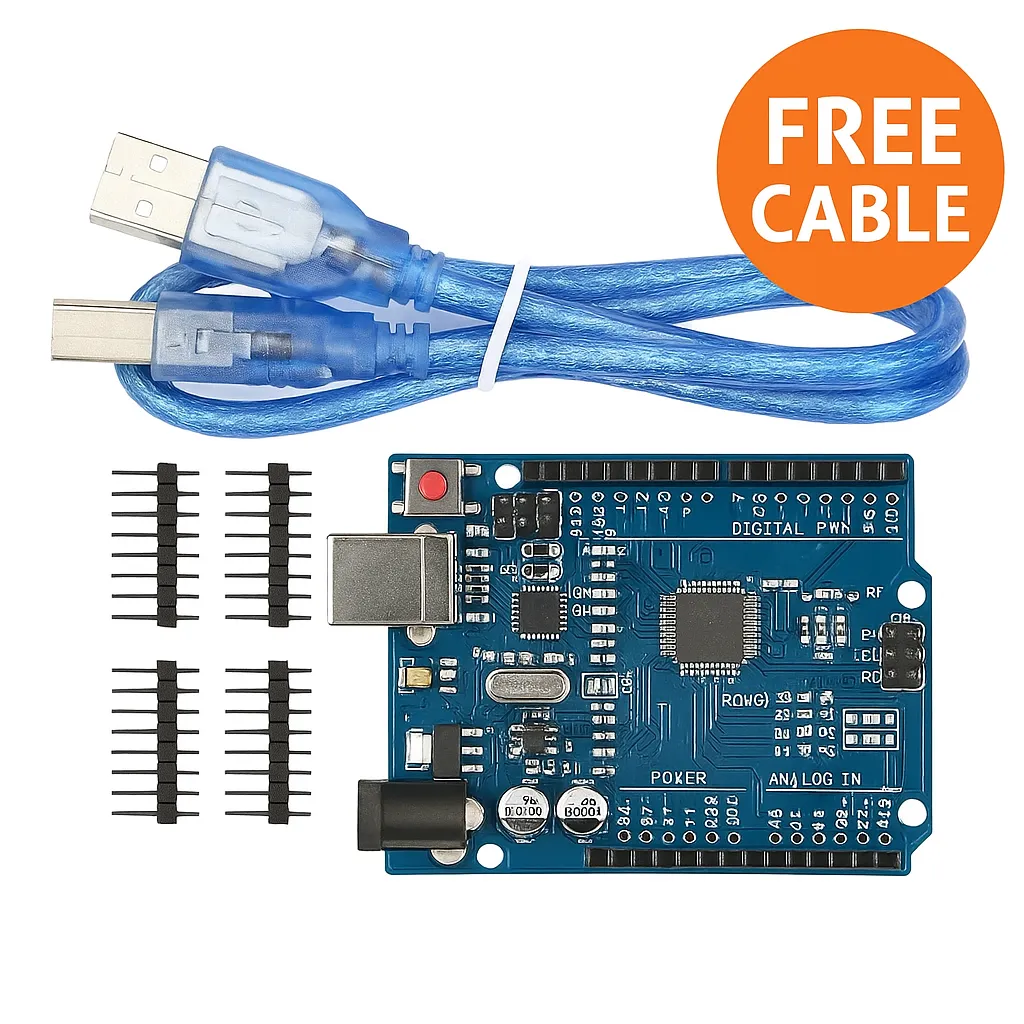
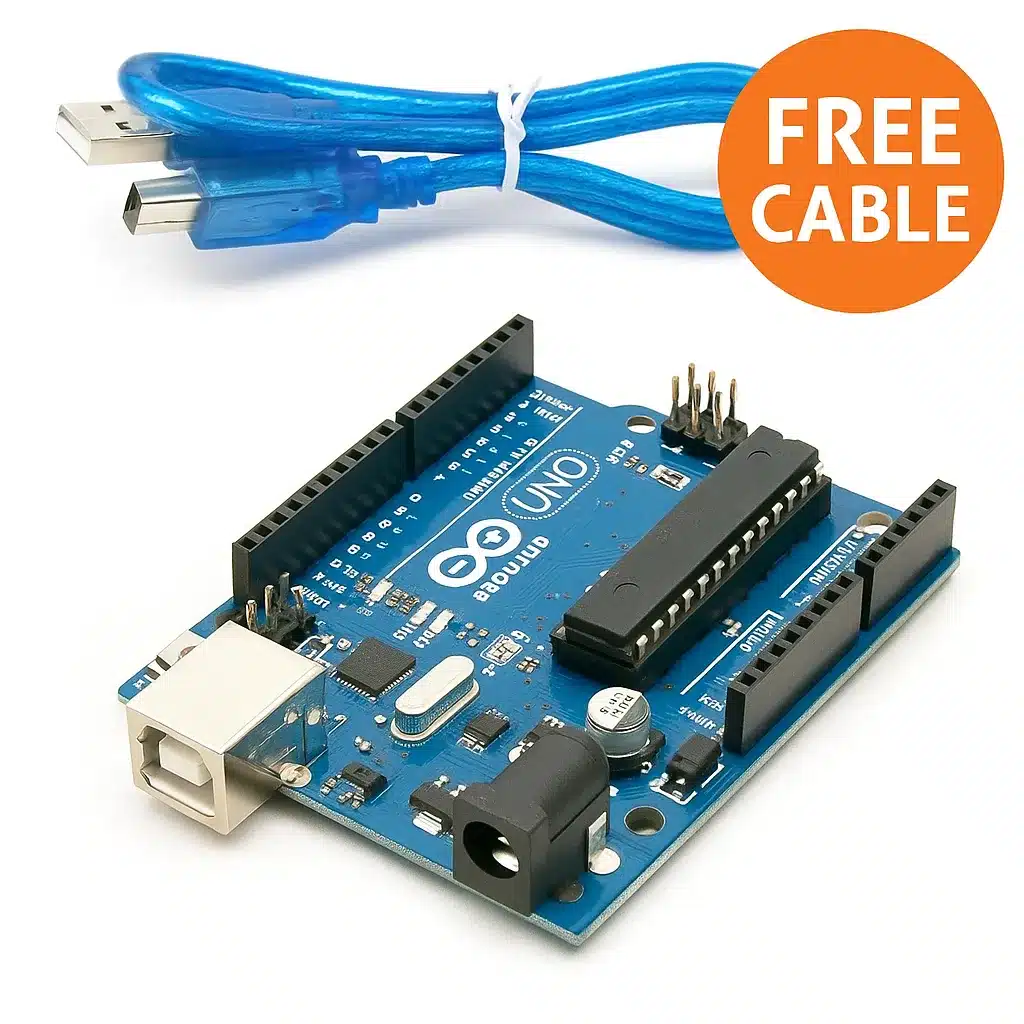
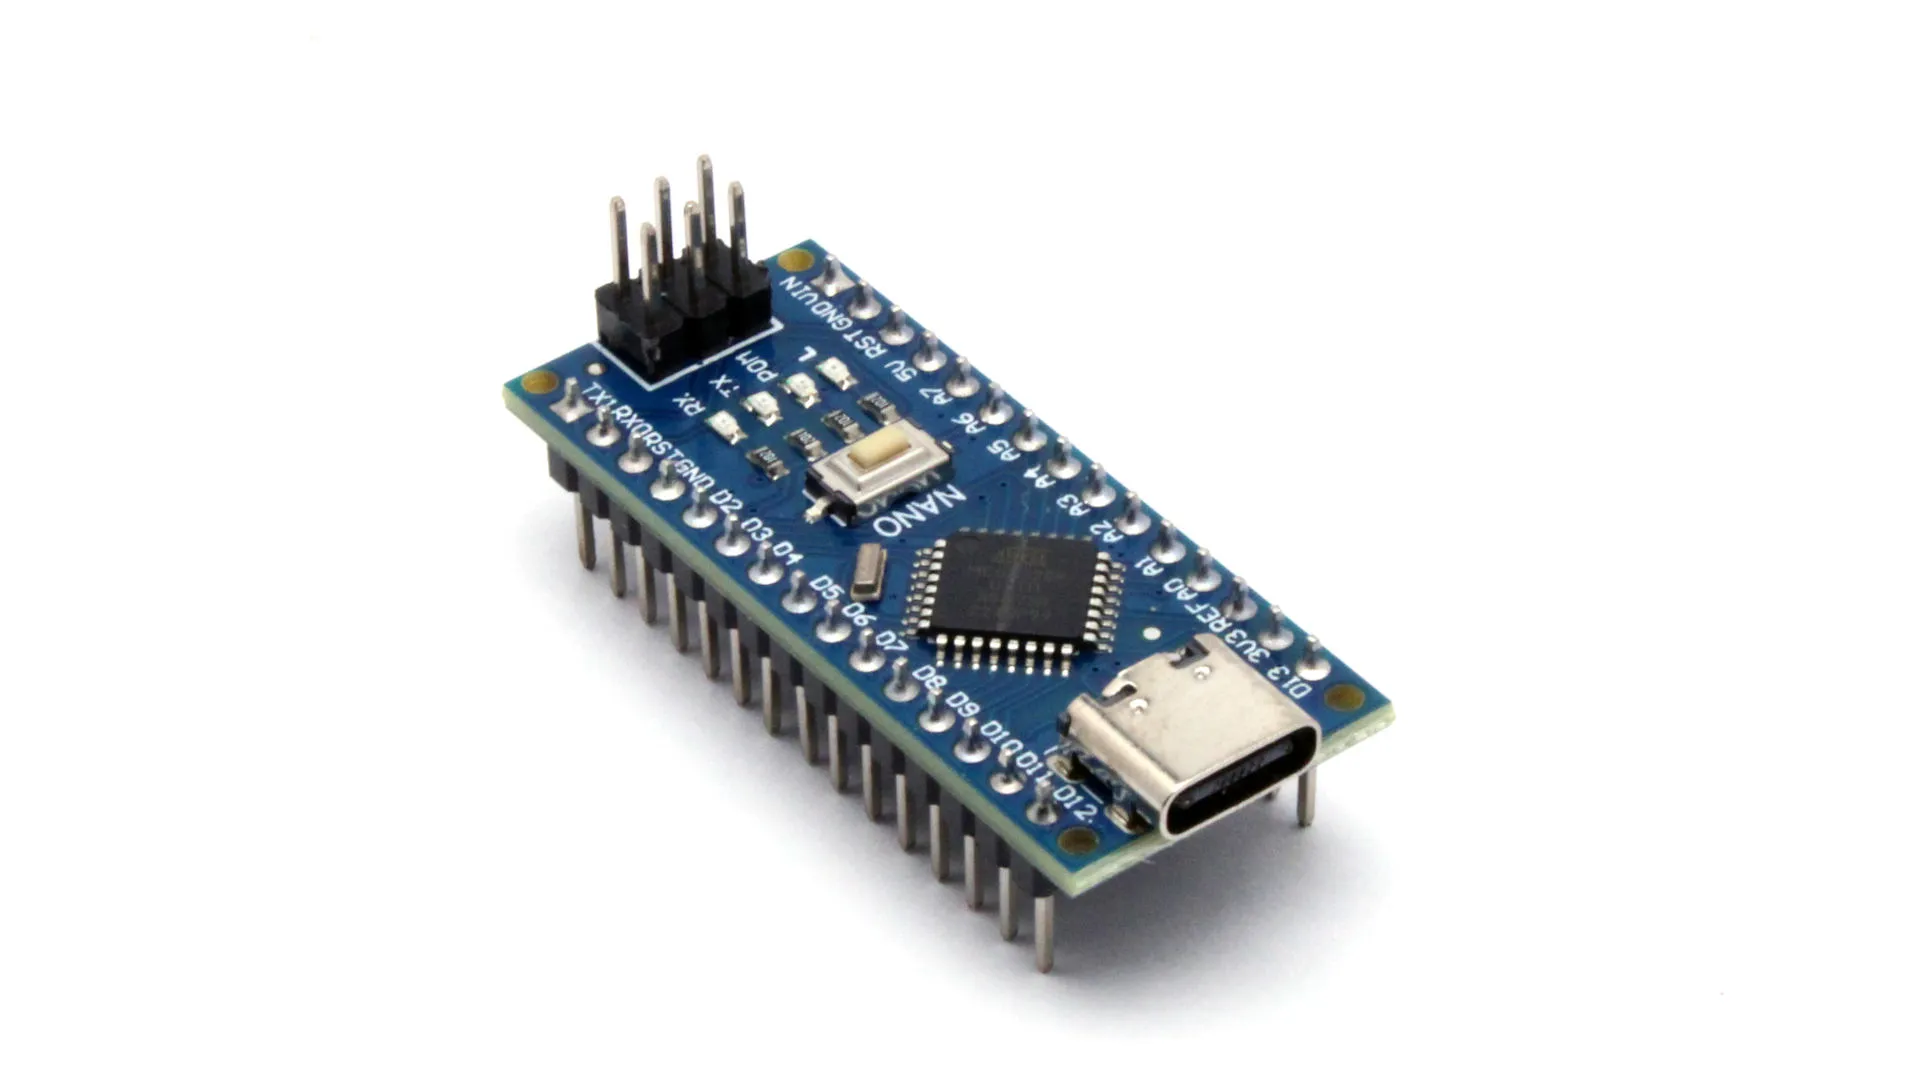
The Arduino ecosystem includes various board sizes and capabilities. The Uno serves as the standard learning board with its comfortable size and clearly labeled pins. The Nano offers the same core functionality in a compact form factor suitable for projects where space matters.
Beginner-friendly IDE and programming language. Massive library support for sensors and modules. Extensive documentation and community tutorials. Stable and predictable behavior for learning fundamentals. Available in multiple form factors for different project needs.
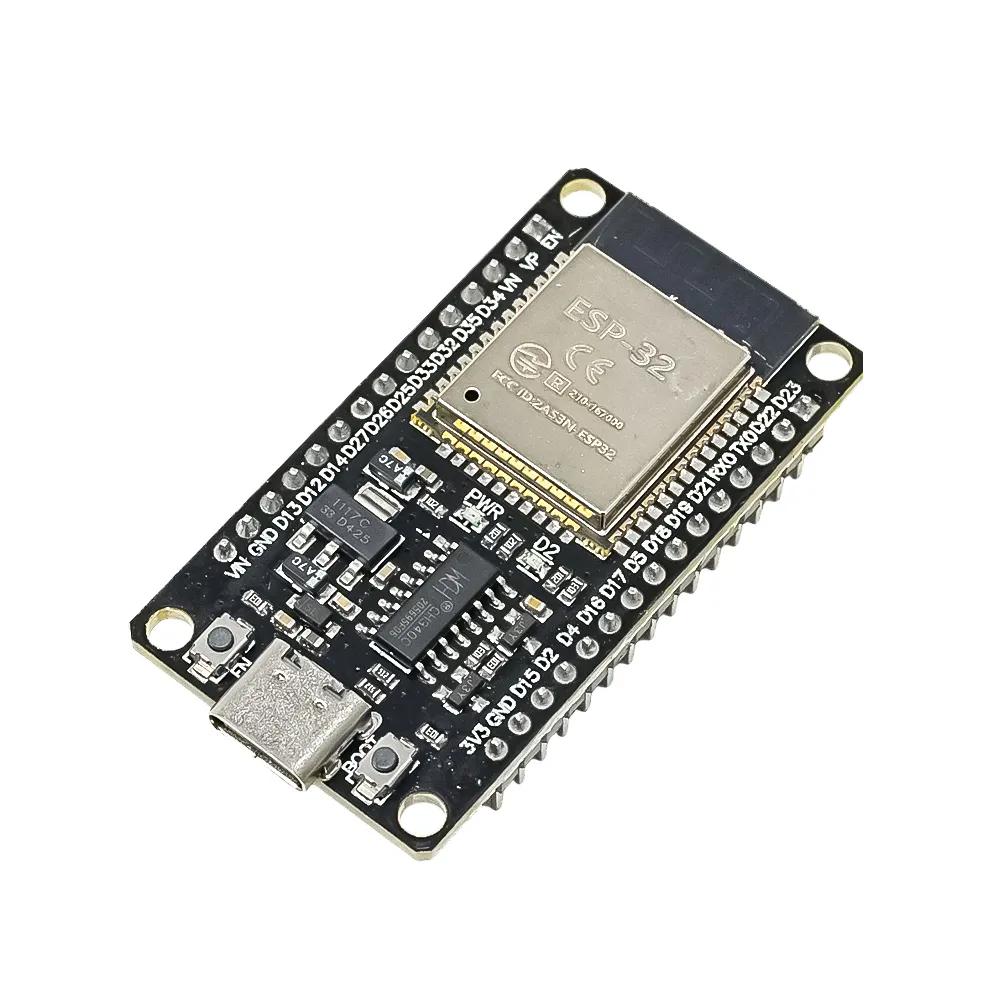
ESP32: Adding Connectivity
The ESP32 represents the next step when your projects require wireless communication. Built-in WiFi and Bluetooth capabilities enable IoT applications, remote monitoring, and connected devices without additional modules.
While slightly more complex than Arduino, the ESP32 can be programmed using the familiar Arduino IDE, making the transition manageable. Students working on smart home projects, weather stations with web dashboards, or any application requiring internet connectivity will find the ESP32 essential.
Built-in WiFi and Bluetooth connectivity. Faster processor with dual cores. More memory for complex applications. Compatible with Arduino IDE and libraries. Cost-effective for IoT and connected projects.
Choosing Your First Board
The decision between Arduino and ESP32 depends primarily on your immediate project requirements and learning goals. Here is a practical comparison to guide your choice:
| Factor | Arduino Uno/Nano | ESP32 |
|---|---|---|
| Learning Curve | Gentle, ideal for beginners | Moderate, some prior experience helps |
| WiFi/Bluetooth | Requires additional modules | Built-in |
| Processing Power | Sufficient for basic projects | Higher, dual-core capability |
| Pin Count | 14 digital, 6 analog (Uno) | 30+ GPIO pins |
| Best For | Learning fundamentals, simple automation | IoT, web-connected projects |
| Documentation | Extremely extensive | Good, growing rapidly |
Start with an Arduino Uno to learn the fundamentals: digital and analog I/O, basic programming structures, and working with sensors. Once comfortable, add an ESP32 to your toolkit for projects requiring connectivity. Many students eventually keep both platforms available since each has distinct advantages.
Project 1: LED Control and Basic I/O
Every journey into microcontrollers begins with the blinking LED. While seemingly trivial, this project establishes fundamental concepts: uploading code, understanding pin configurations, and controlling timing. From here, you expand to multiple LEDs, buttons, and basic input handling.
What You Will Learn
Setting up the Arduino IDE and configuring board settings. Understanding digital output pins and how to control them. Writing basic program structure with setup and loop functions. Using delays and timing in your code. Reading digital inputs from buttons and switches.
Expanding the Project
Once the basic LED blinks, challenge yourself with these extensions: create a traffic light sequence using three LEDs, build a reaction time game with a button and LED, or design a binary counter displaying numbers 0 through 15 using four LEDs.
void setup() {
pinMode(13, OUTPUT); // Set pin 13 as output
}
void loop() {
digitalWrite(13, HIGH); // Turn LED on
delay(1000); // Wait 1 second
digitalWrite(13, LOW); // Turn LED off
delay(1000); // Wait 1 second
}
Arduino Uno or Nano board, USB cable for programming, LEDs (various colors), 220 ohm resistors, breadboard and jumper wires, push buttons for input projects.
For students who prefer the traditional through-hole design that allows easier component replacement:
Project 2: Sensor Data Collection and Display
Reading sensor data represents the core of most practical applications. Temperature monitoring, light detection, distance measurement, and motion sensing all follow similar patterns. Once you understand how to read one sensor, adapting to others becomes straightforward.
What You Will Learn
Analog vs digital sensor interfaces and when each applies. Using the Serial Monitor for debugging and data visualization. Converting raw sensor values to meaningful units. Combining multiple sensors in a single project. Basic data logging concepts for recording measurements.
Project Ideas at This Level
Build a digital thermometer using a DHT11 or LM35 sensor. Create a light meter that displays ambient brightness levels. Design a parking sensor using ultrasonic distance measurement. Develop a simple weather station combining temperature, humidity, and pressure readings.
void setup() {
Serial.begin(9600); // Start serial communication
}
void loop() {
int sensorValue = analogRead(A0);
float voltage = sensorValue * (5.0 / 1023.0);
float temperature = voltage * 100; // For LM35
Serial.print("Temperature: ");
Serial.println(temperature);
delay(1000);
}
Arduino board, various sensors (temperature, light, ultrasonic, humidity), 16x2 LCD display or OLED screen for visual output, potentiometer for LCD contrast adjustment, breadboard and connecting wires.
For sensor projects where space is limited or you plan to create a permanent installation, the compact Nano board offers the same capabilities in a smaller package:
Project 3: WiFi-Connected Weather Station
This project marks the transition from standalone devices to connected systems. A WiFi weather station collects environmental data and publishes it online, allowing you to monitor conditions from anywhere. This forms the foundation for IoT applications that employers and clients value.
What You Will Learn
Configuring WiFi connectivity on ESP32. Sending data to cloud platforms like ThingSpeak or Blynk. Creating simple web servers to display sensor readings. Understanding HTTP requests and API communication. Managing power consumption for battery-operated stations.
Why This Project Matters
IoT skills are increasingly valuable across industries. Understanding how devices communicate over networks, send data to servers, and respond to remote commands prepares you for roles in industrial automation, smart agriculture, environmental monitoring, and home automation sectors.
ESP32 development board, DHT22 temperature and humidity sensor, BMP280 pressure sensor, rain sensor module, WiFi network access for testing, cloud platform account (ThingSpeak offers free tier).
Taking It Further
Once basic data logging works, enhance the project by adding a local display showing current readings, implementing data averaging to smooth out sensor noise, creating email or SMS alerts for extreme conditions, or building a web dashboard accessible from your phone.
Project 4: Home Automation Control System
Home automation projects demonstrate practical problem-solving while building skills applicable to industrial control systems. Controlling lights, fans, or appliances remotely through a smartphone app or web interface showcases your ability to create complete systems.
What You Will Learn
Relay module interfacing for controlling AC appliances safely. Building web-based control interfaces with HTML and JavaScript. Implementing Bluetooth control for local operation. Scheduling and timer functionality. Safety considerations when working with mains voltage.
Safety First
Projects involving 220V mains electricity require careful attention to safety. Always use properly rated relay modules with optical isolation. Never work on circuits while connected to mains power. If uncertain, consult with an experienced person or use only low-voltage DC components until you gain more experience.
ESP32 board for WiFi control, relay module (start with low-voltage relays for learning), smartphone with Blynk or custom app, properly rated wiring and connectors for any mains voltage work, enclosure for safe installation.
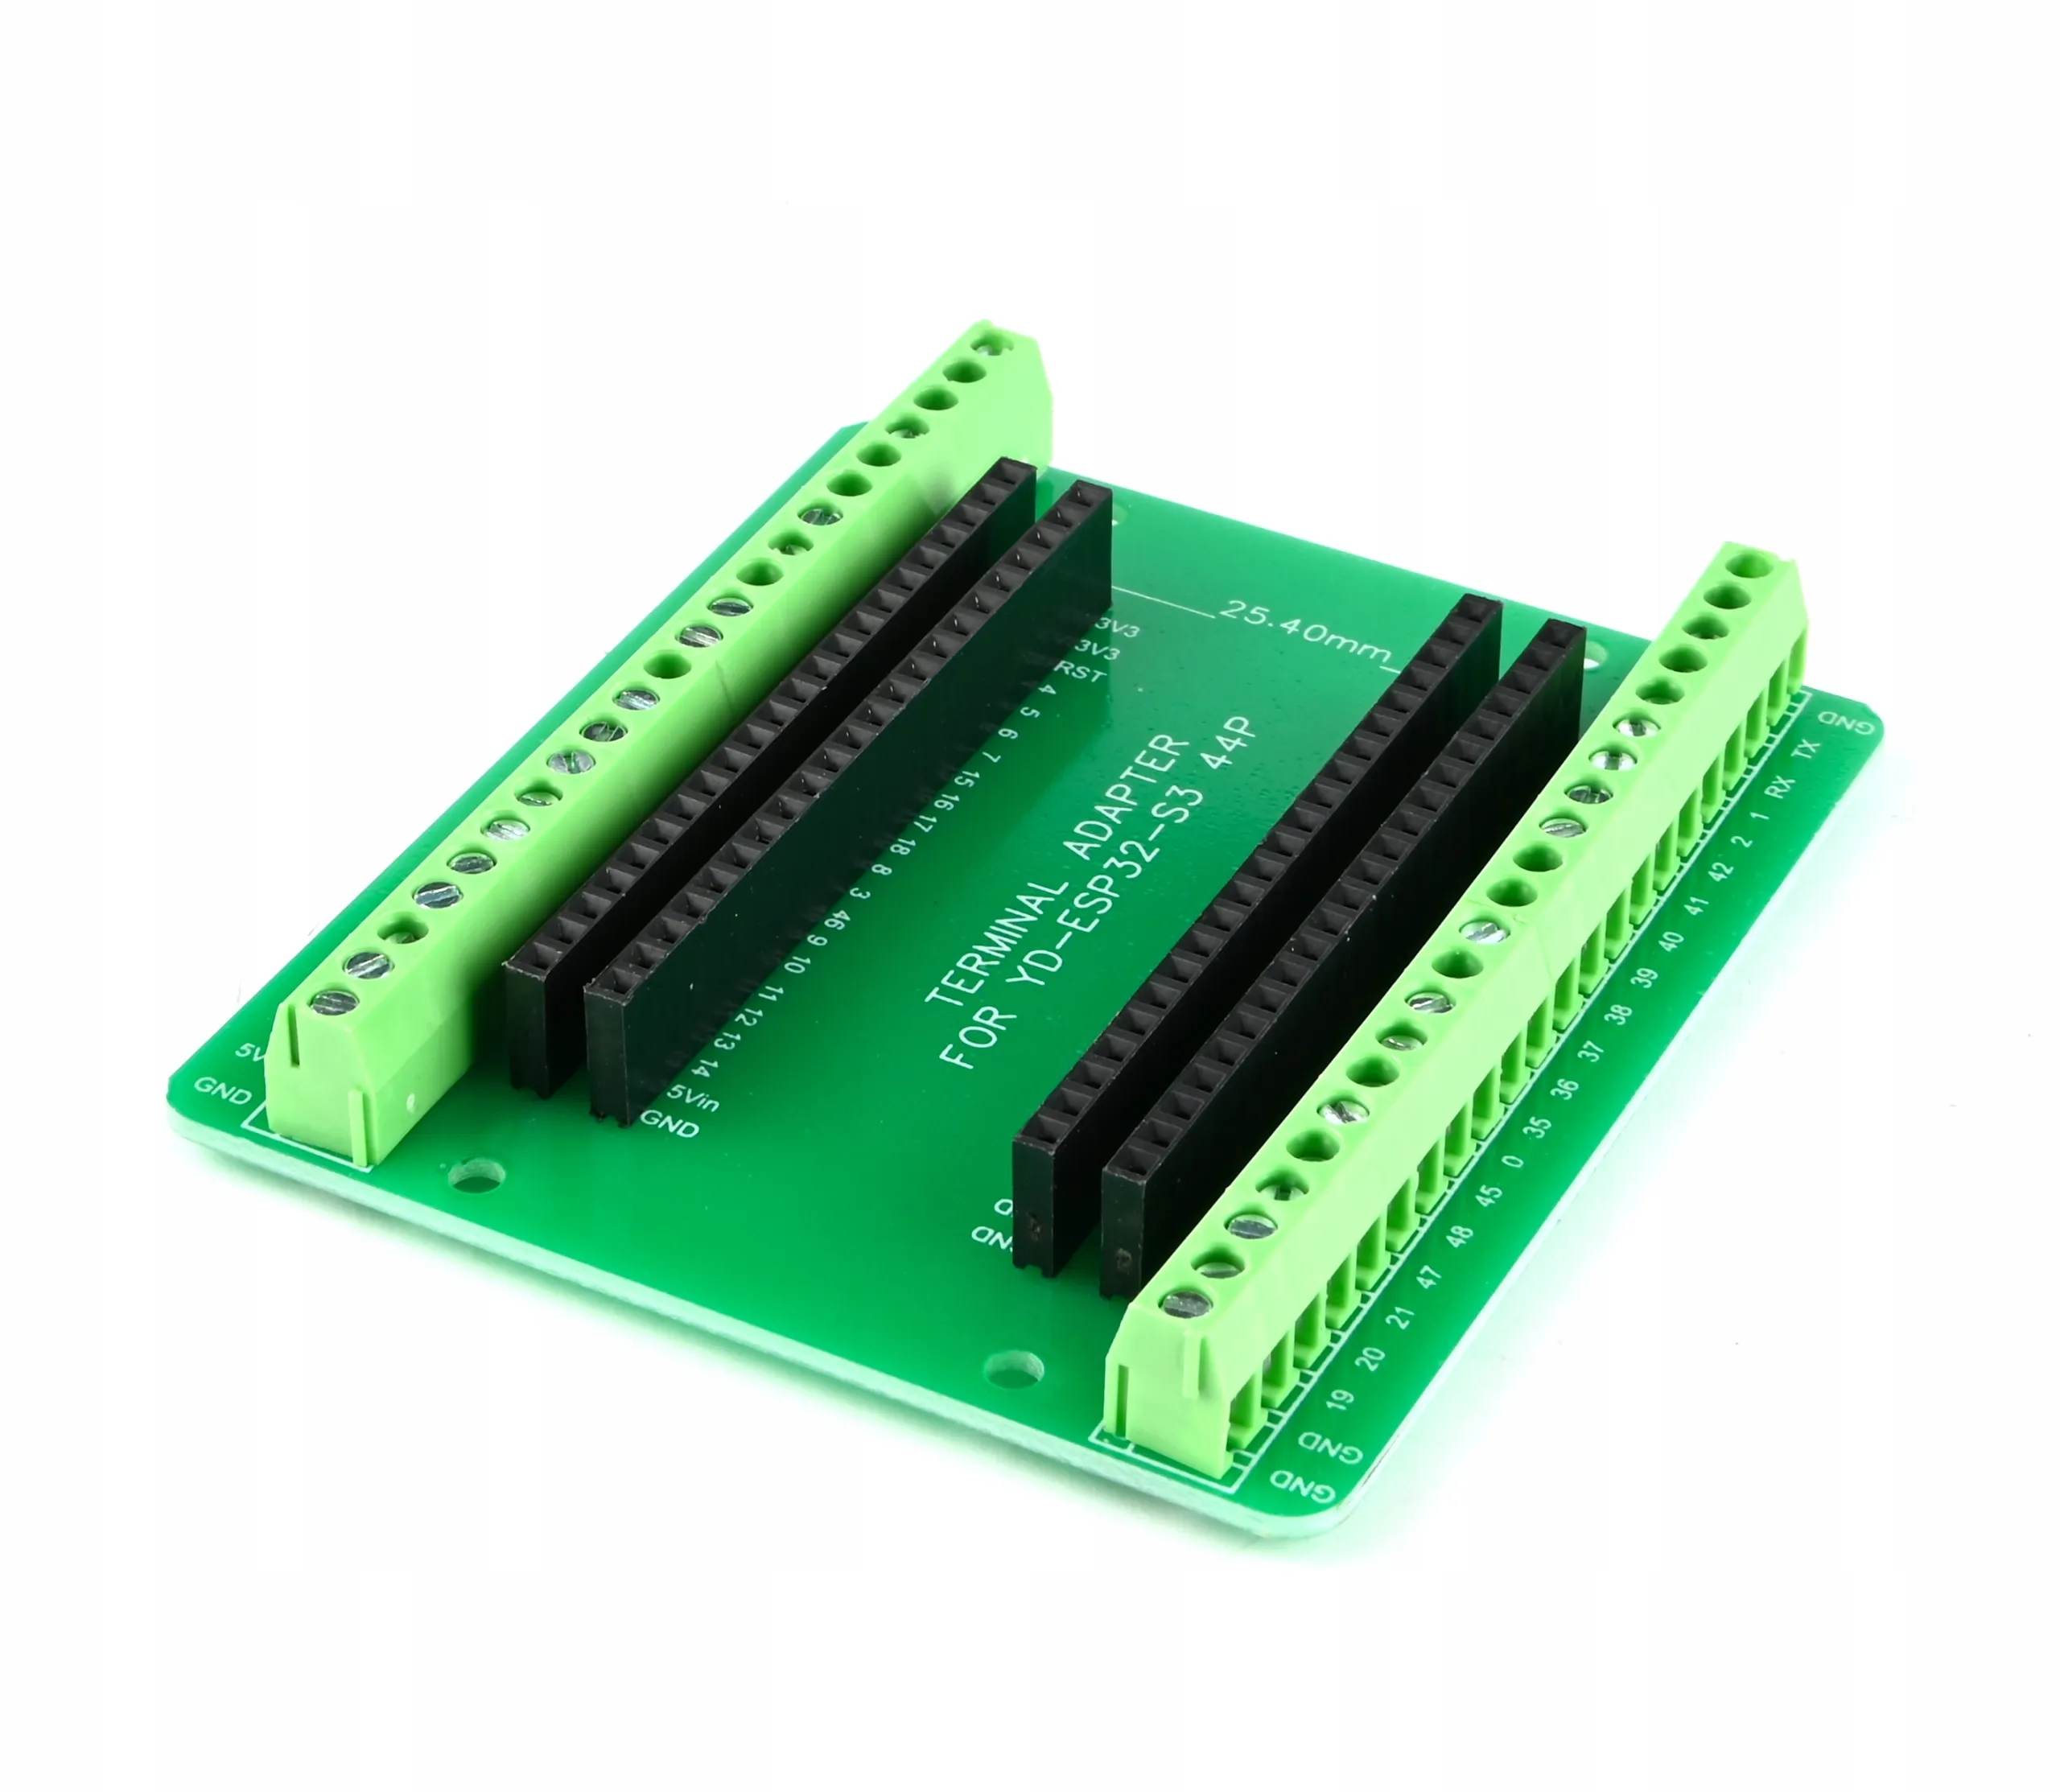
For complex projects requiring many connections, an expansion board simplifies wiring and provides organized terminal connections:
Project 5: Final Year Project Ideas
Final year projects should demonstrate integration of multiple concepts while solving meaningful problems. The following ideas combine sensors, connectivity, and practical applications suitable for engineering and computer science students.
Smart Agriculture Monitoring
Develop a system monitoring soil moisture, temperature, humidity, and light levels for crop optimization. Include automated irrigation triggers and a web dashboard for remote monitoring. This project addresses real challenges in Pakistani agriculture while demonstrating IoT competency.
Industrial Equipment Monitoring
Create a predictive maintenance system using vibration and temperature sensors to detect potential equipment failures before they occur. Log data trends and generate alerts when parameters exceed normal ranges.
Smart Energy Meter
Build a system that monitors electrical consumption in real-time, identifies high-usage periods, and provides recommendations for reducing electricity bills. Particularly relevant given energy costs in Pakistan.
Health Monitoring Wearable
Design a wearable device tracking heart rate, temperature, and activity levels with data transmission to a mobile app. Demonstrates embedded systems, sensor integration, and mobile connectivity.
Start your project at least six months before the deadline to allow time for unexpected challenges. Document everything from the beginning, including failed approaches, as this demonstrates your problem-solving process. Focus on reliability over features since a working simple system impresses more than an ambitious broken one. Prepare clear explanations of your design decisions for viva questions.
Setting Up Your Development Environment
Before starting any project, you need to configure your computer with the necessary software. The Arduino IDE remains the most accessible option for beginners, supporting both Arduino and ESP32 boards.
Arduino IDE Installation
Download the Arduino IDE from the official Arduino website. The installation process is straightforward on Windows, Mac, and Linux. For ESP32 support, you will need to add the ESP32 board package through the Boards Manager, which the IDE guides you through.
Essential Libraries
Libraries extend your board's capabilities without writing complex code from scratch. Some frequently used libraries include: WiFi and HTTPClient for ESP32 connectivity, DHT for temperature and humidity sensors, LiquidCrystal for LCD displays, and Servo for motor control. Install libraries through the Library Manager in the Arduino IDE.
First Upload Checklist
Select the correct board from Tools menu. Choose the appropriate COM port where your board is connected. Start with the basic Blink example to verify everything works. If upload fails, check that drivers are installed and the USB cable supports data transfer, not just charging.
Common Mistakes to Avoid
Learning from others' mistakes saves time and frustration. These issues appear frequently among students new to microcontrollers:
Skipping the basics. Rushing to complex projects without understanding fundamentals leads to confusion when debugging. Spend adequate time on LED and button projects before advancing.
Poor wiring practices. Loose connections cause intermittent failures that are difficult to diagnose. Use quality jumper wires, ensure secure breadboard connections, and develop neat wiring habits early.
Ignoring current limits. Each pin has maximum current ratings. Connecting LEDs without resistors or driving motors directly from pins damages boards. Always check component requirements.
Copy-pasting code without understanding. While example code helps you start quickly, take time to understand each line. Modify values and observe changes. This builds genuine knowledge rather than superficial familiarity.
Not reading error messages. Compilation errors contain useful information about what went wrong. Read them carefully rather than randomly changing code hoping the error disappears.
Building Your Component Collection
Start with essentials and expand as projects require. A basic kit should include your development board, USB cable, breadboard, jumper wires in various lengths, LEDs in multiple colors, resistors in common values (220 ohm, 1K ohm, 10K ohm), push buttons, and a potentiometer.
As you progress, add sensors relevant to your interests: temperature and humidity sensors for environmental projects, ultrasonic sensors for distance measurement, light-dependent resistors for brightness detection, and relay modules when you are ready for AC control projects.
Browse All Development Boards and Programmers at ColGroadWhere to Learn More
The Arduino official website provides comprehensive tutorials organized by difficulty level. YouTube channels dedicated to electronics offer visual demonstrations that complement written guides. University courses on platforms like Coursera and edX cover embedded systems formally if you prefer structured learning.
Local maker communities and online forums provide spaces to ask questions and share projects. Engaging with these communities accelerates learning through exposure to diverse approaches and real-world problem solutions.
Ready to Start Your Microcontroller Journey?
Order your boards and components directly from our website with delivery across Pakistan. Need guidance on selecting the right board for your project?
WhatsApp: 0323 0235000