Product Overview
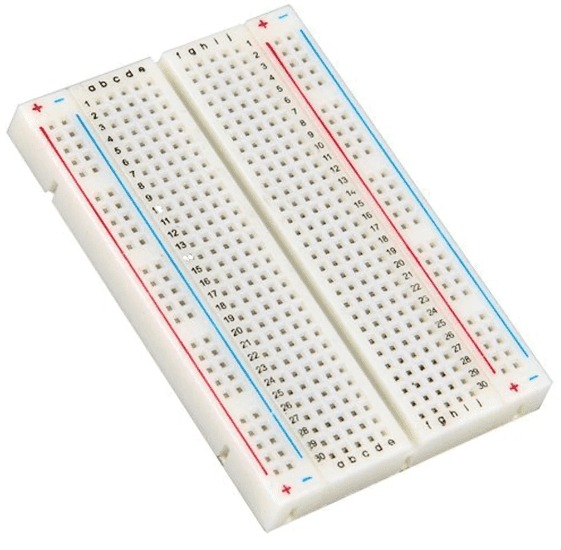
Start building your ideas with the 400 Tie Points Half Sized Solderless Breadboard. Compact and easy to use, this breadboard is perfect for electronics enthusiasts, students, makers, and engineers who want a fast, clean way to prototype circuits without soldering.
Key Features
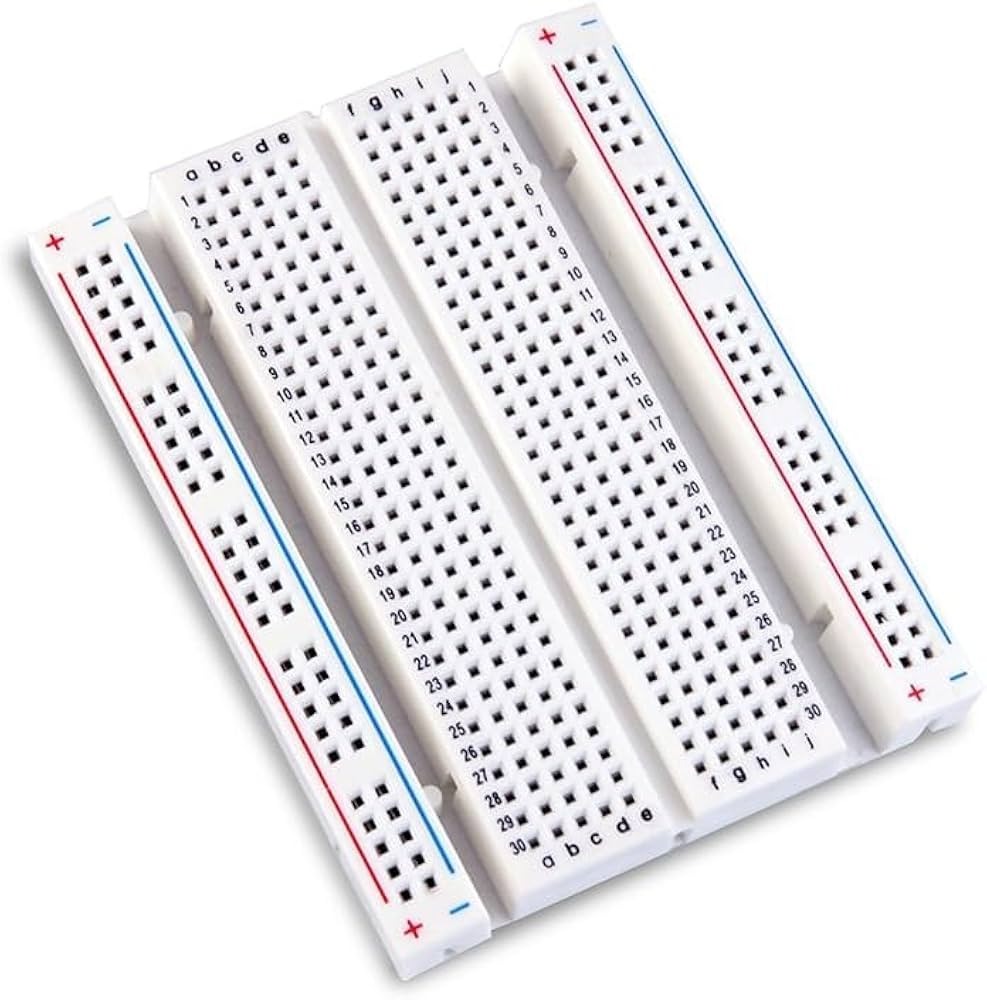
- 400 tie points: Plenty of room for small-to-medium circuits and experiments.
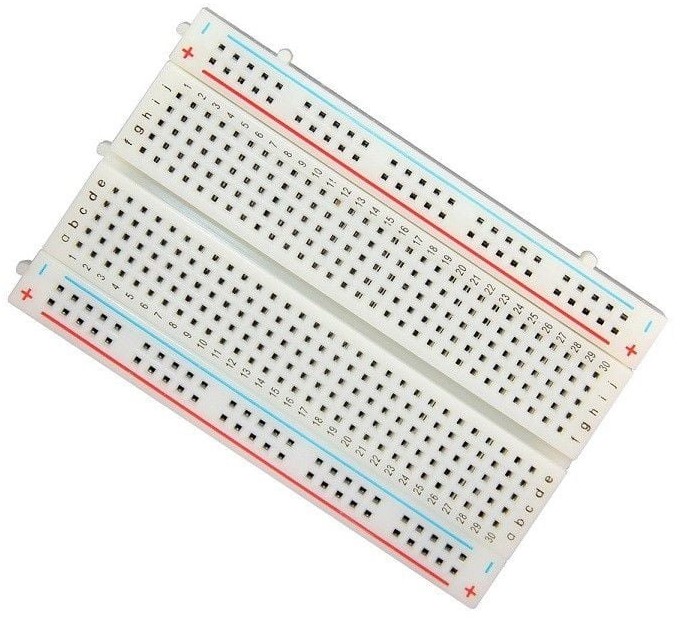
- Half-sized layout: Compact 8.2 x 5.4 x 0.85 cm footprint that fits neatly on workbenches and inside project enclosures.
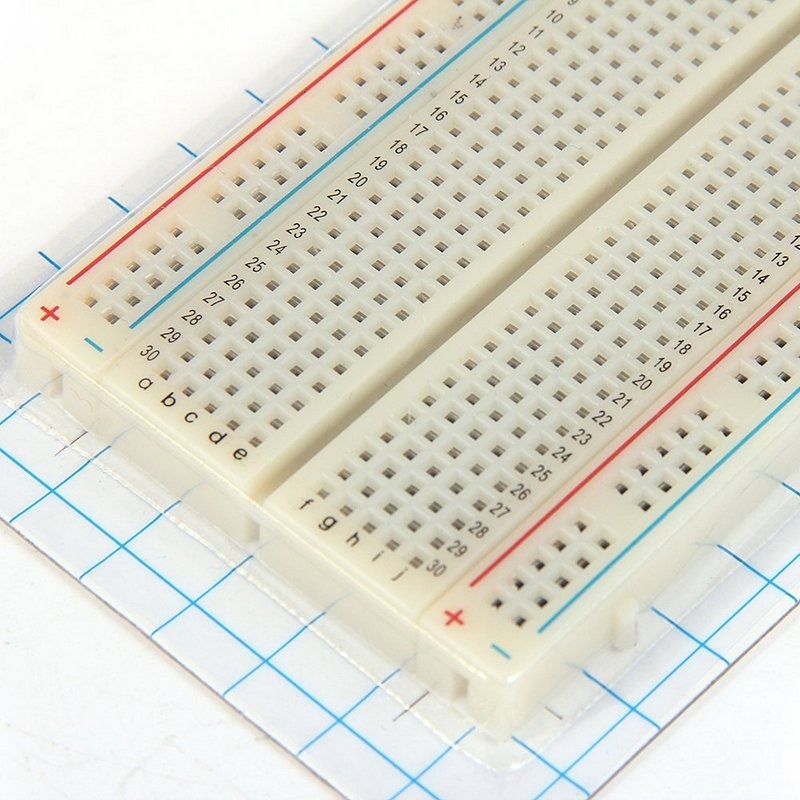
- Dual power rails: Power both sides of your circuit easily with two strips on each side.
- Nickel-plated phosphor bronze contacts: Secure grip for jumper wires and components for reliable connections.
- Durable ABS housing: Heat-resistant, reusable, and built to last through many prototyping cycles.
- Solderless and reusable: Change and improve your designs quickly with no soldering required.
- Broad compatibility: Works well with Arduino, Raspberry Pi, sensors, microcontrollers, and common through-hole components.
Breadboard Layout That Feels Natural
Plug in a jumper wire and feel the soft, snug click. Place a resistor and watch your circuit take shape. The standard breadboard layout gives you the freedom to focus on your idea, not the hardware.
Who Is This Breadboard For?
- Students learning the basics of electronics
- Makers and hobbyists working on Arduino projects
- Educators teaching circuit design and prototyping
- DIYers experimenting with LEDs, sensors, and resistors
- Engineers building quick test setups and proof of concepts
Product Specifications
| Feature | Details |
|---|---|
| Total Points | 400 |
| Power Rails | Dual strips on each side |
| Contact Material | Nickel-plated phosphor bronze |
| Housing Material | ABS Plastic (white) |
| Compatibility | Arduino, Raspberry Pi, sensors |
| Size | 8.2 x 5.4 x 0.85 cm |
| Reusable | Yes |
| Soldering Required | No |
Getting Started Tips
- Place the breadboard on a flat surface and identify the power rails.
- Connect a regulated power source to the rails when testing circuits that require power.
- Use jumper wires to create connections; the nickel-plated contacts hold wires securely.
- Start with a simple LED and resistor circuit to verify polarity and connections.
- When moving to a larger design, use multiple breadboards or jump to a full-size board.
Common Uses and Compatibility
- Arduino breadboard projects and prototypes
- Sensor testing with Raspberry Pi and microcontrollers
- Educational labs and classroom demonstrations
- Quick proof of concept and circuit troubleshooting
Why Choose This Breadboard for Prototyping
This breadboard offers a low-cost, low-effort way to iterate electronic designs. Its reliable contacts and compact size make it an excellent choice for learning, prototyping, and temporary circuits during the development cycle.
Note
Images are for illustration purposes only.


Ali Raza (verified owner) –
Ali Raza –
Abdul Momin (verified owner) –
Abdul Momin –
Tushar (verified owner) –
Tushar –
Voltron (verified owner) –
Voltron –