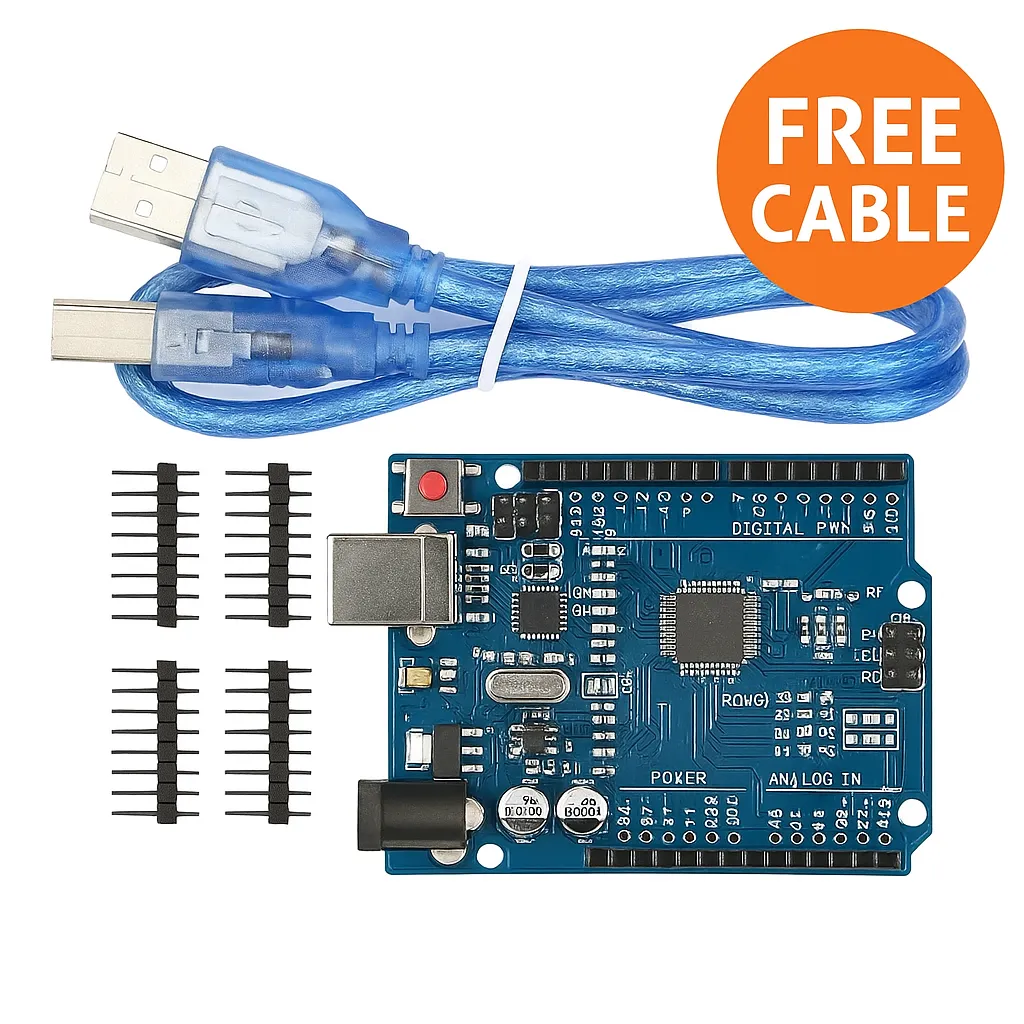
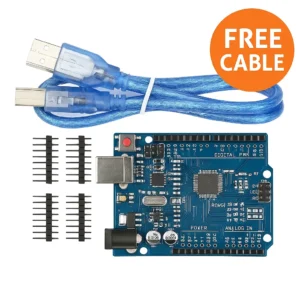
Arduino Uno R3 SMD Board with Free USB Cable
The Arduino Uno R3 SMD board is a compact, durable version of the popular Uno platform that delivers stable performance for beginners, hobbyists, and developers. With the ATmega328P soldered as an SMD (surface mount device), this board is built to withstand repeated uploads and classroom-level usage while remaining ready to program out of the box with the included USB cable.
What You Get
- 1 x Arduino Uno R3 SMD board (ATmega328P SMD)
- 1 x USB Type B cable (included)
- Quick start guidance and compatibility with Arduino IDE
Key Features – Arduino Uno R3 SMD
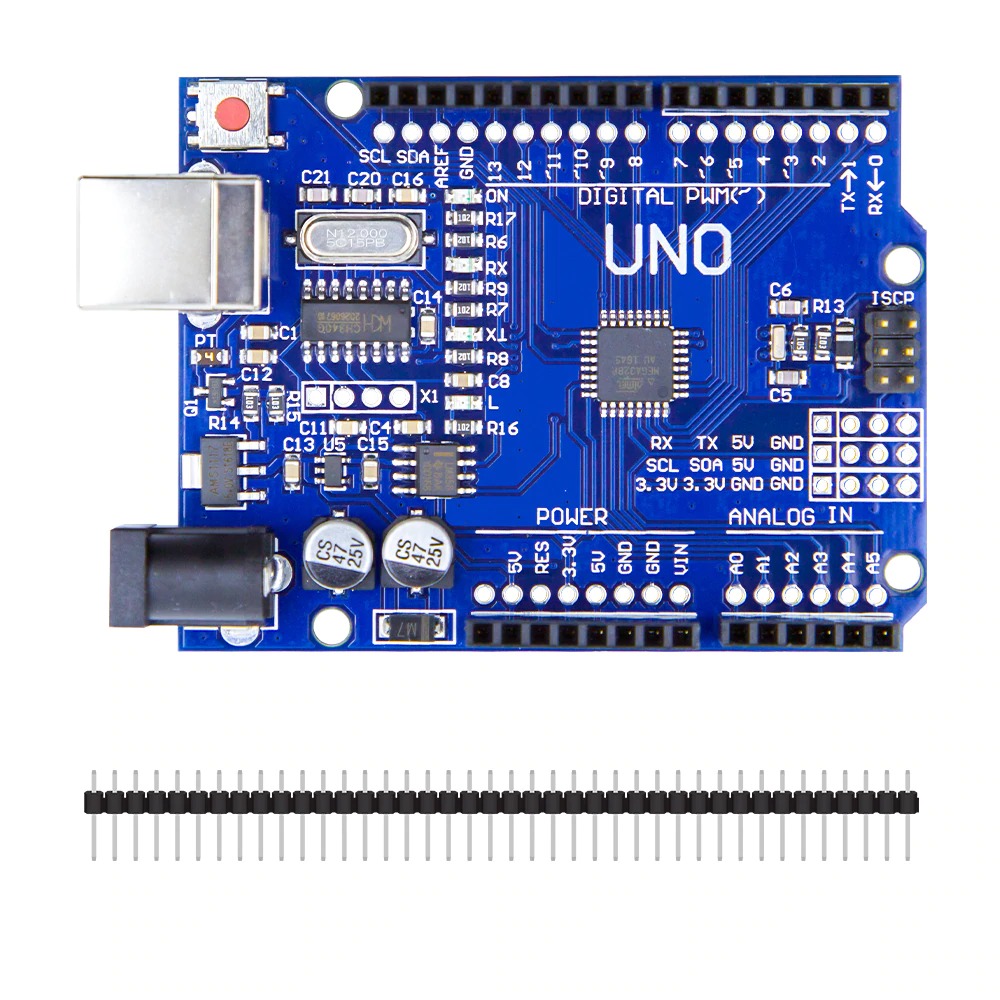
- ATmega328P SMD Microcontroller – Soldered for improved durability and compact layout.
- USB Connectivity – USB Type B port with cable included for easy plug-and-play programming.
- Full Arduino IDE Support – Works with standard Arduino libraries and examples.
- Digital and Analog I/O – 14 digital pins (6 PWM) and 6 analog inputs for sensors, motors, and relays.
- Stable Power Input – Operates at 5V; recommended input 7–12V via barrel jack or USB.
- Compact Dimensions – Approx. 68.6mm x 53.4mm, ideal for breadboards and enclosures.
Technical Specifications
- Microcontroller: ATmega328P SMD
- Operating Voltage: 5V
- Input Voltage (recommended): 7 6V to 12V
- Digital I/O Pins: 14
- PWM Channels: 6
- Analog Input Pins: 6
- Flash Memory: 32 KB
- Clock Speed: 16 MHz
- USB Port: Type B (cable included)
- Board Dimensions: 68.6 mm x 53.4 mm approx.
Designed for Real Projects
This Arduino development board is smooth to use, responsive during uploads, and excellent for classroom labs, starter kits, or DIY smart systems. The SMD chip reduces the risk of damage from frequent handling and keeps the board compact for tighter builds.
Ideal Applications
- Arduino projects starter kits
- Learning environments and classrooms
- Automation and IoT experiments
- Motor drivers, sensors, and relay control
- Beginners and intermediate developers
Getting Started – Quick Steps
- Install the Arduino IDE from arduino.cc.
- Connect the board to your computer using the included USB Type B cable.
- Select the Arduino Uno board and correct COM port in the IDE.
- Open the “Blink” example and upload to confirm operation.
Why Choose This Arduino Uno R3 SMD Board from Colgroad
At Colgroad, we provide makers in Pakistan with quality hardware at great value. This Arduino Uno R3 SMD version delivers reliable performance, convenience, and customer support. With a free USB cable included, you can start programming the moment it arrives.
Notes
Images are for illustration purposes only. The board is compatible with standard Arduino libraries and shields that do not require header changes. If you need support, Colgroad offers assistance across Pakistan for setup and troubleshooting.
Only logged in customers who have purchased this product may leave a review.


Muzzammil Imran (verified owner) –
Awsome this seller always gives the best products in very cheap price thanks for the products
Muzzammil Imran –
Tushar (verified owner) –
Tushar –
Haseeb (verified owner) –
Haseeb –
Abdul Momin (verified owner) –
Abdul Momin –
Ahsan Sajjad (verified owner) –
Ahsan Sajjad –
Hannan (verified owner) –
Hannan –